{ Bookmaking Bonanza! } : Book Arts Workshop // April 2022
On Saturday, April 23, I will be teaching Bookmaking Bonanza! at the Floyd Center for the Arts in beautiful Floyd, Virginia.
I LOVE teaching Book and Paper Arts but the Bonanza is one of my favorites. We will be making 5 mini books in 5 hours. I am learning all new folds so that even if you have taken this class in the past, there will be new folds and binds to learn.
This is a GREAT class for friends, parent/child and couples to take together. In addition to being a fun, low key way to learn the basics of bookmaking, being in Floyd is an ideal way to spend a Saturday. Visit the Floyd Country Store, hike the Buffalo, grab pizza and a drink at Dogtown…there is lots to do in this funky, little town. Come. make books with me and enjoy a full day in Floyd!
{ PROSPERITY : Word of the Year } : Winter 2022
I have been making Vision Boards, setting goals (both personal and professional) and crafting a Word of the Year on the first of the year for over a decade now. I usually go through a plethora of words before founding the word that fits my feeling perfectly.
This year was no different. I vacillated back and forth with several other words that were not landing quite right. I kept cycling back to ‘Prosperity’ and felt that was exactly what I wanted 2022 to be for me.
While most of us our struggling with on ongoing pandemic, many of us our trying to reclaim some semblance of life before 2019. I know I am. I have not been feeling very creative or motivated to work on my art business. I took a break during 2019-2020. The rest was necessary but I started getting antsy. I wanted to get back to the studio and back to teaching.
Prosperity to means more than money. Prosperity to me comes in the form of creating unique, one-of-a-kind wall art and handmade artist books as well as developing dynamic and compelling art class for people of all ages. Prosperity means creating interesting content for this blog that brings people to living a more creative life. Prosperity means enhancing my amazing relationships with my partner, my daughter and my friends.
As the year goes on and I loose the motivation to keep creating, I always look back on my Word of the Year and revisit why I choose that word to guide my year.
How about you? Do you choose a Word of the Year? How do you stay connected and focus when you stray for your vision?
{ Printmaking Series #3 : Applying Color } : Spring 2021
In this week’s Printmaking post, I will discuss the color that can be applied to your plate. Depending on your printing preference (I love grungy, multi-layered prints), color can be applied in a wide variety of ways.
Lower End Liquid Acrylic Paints
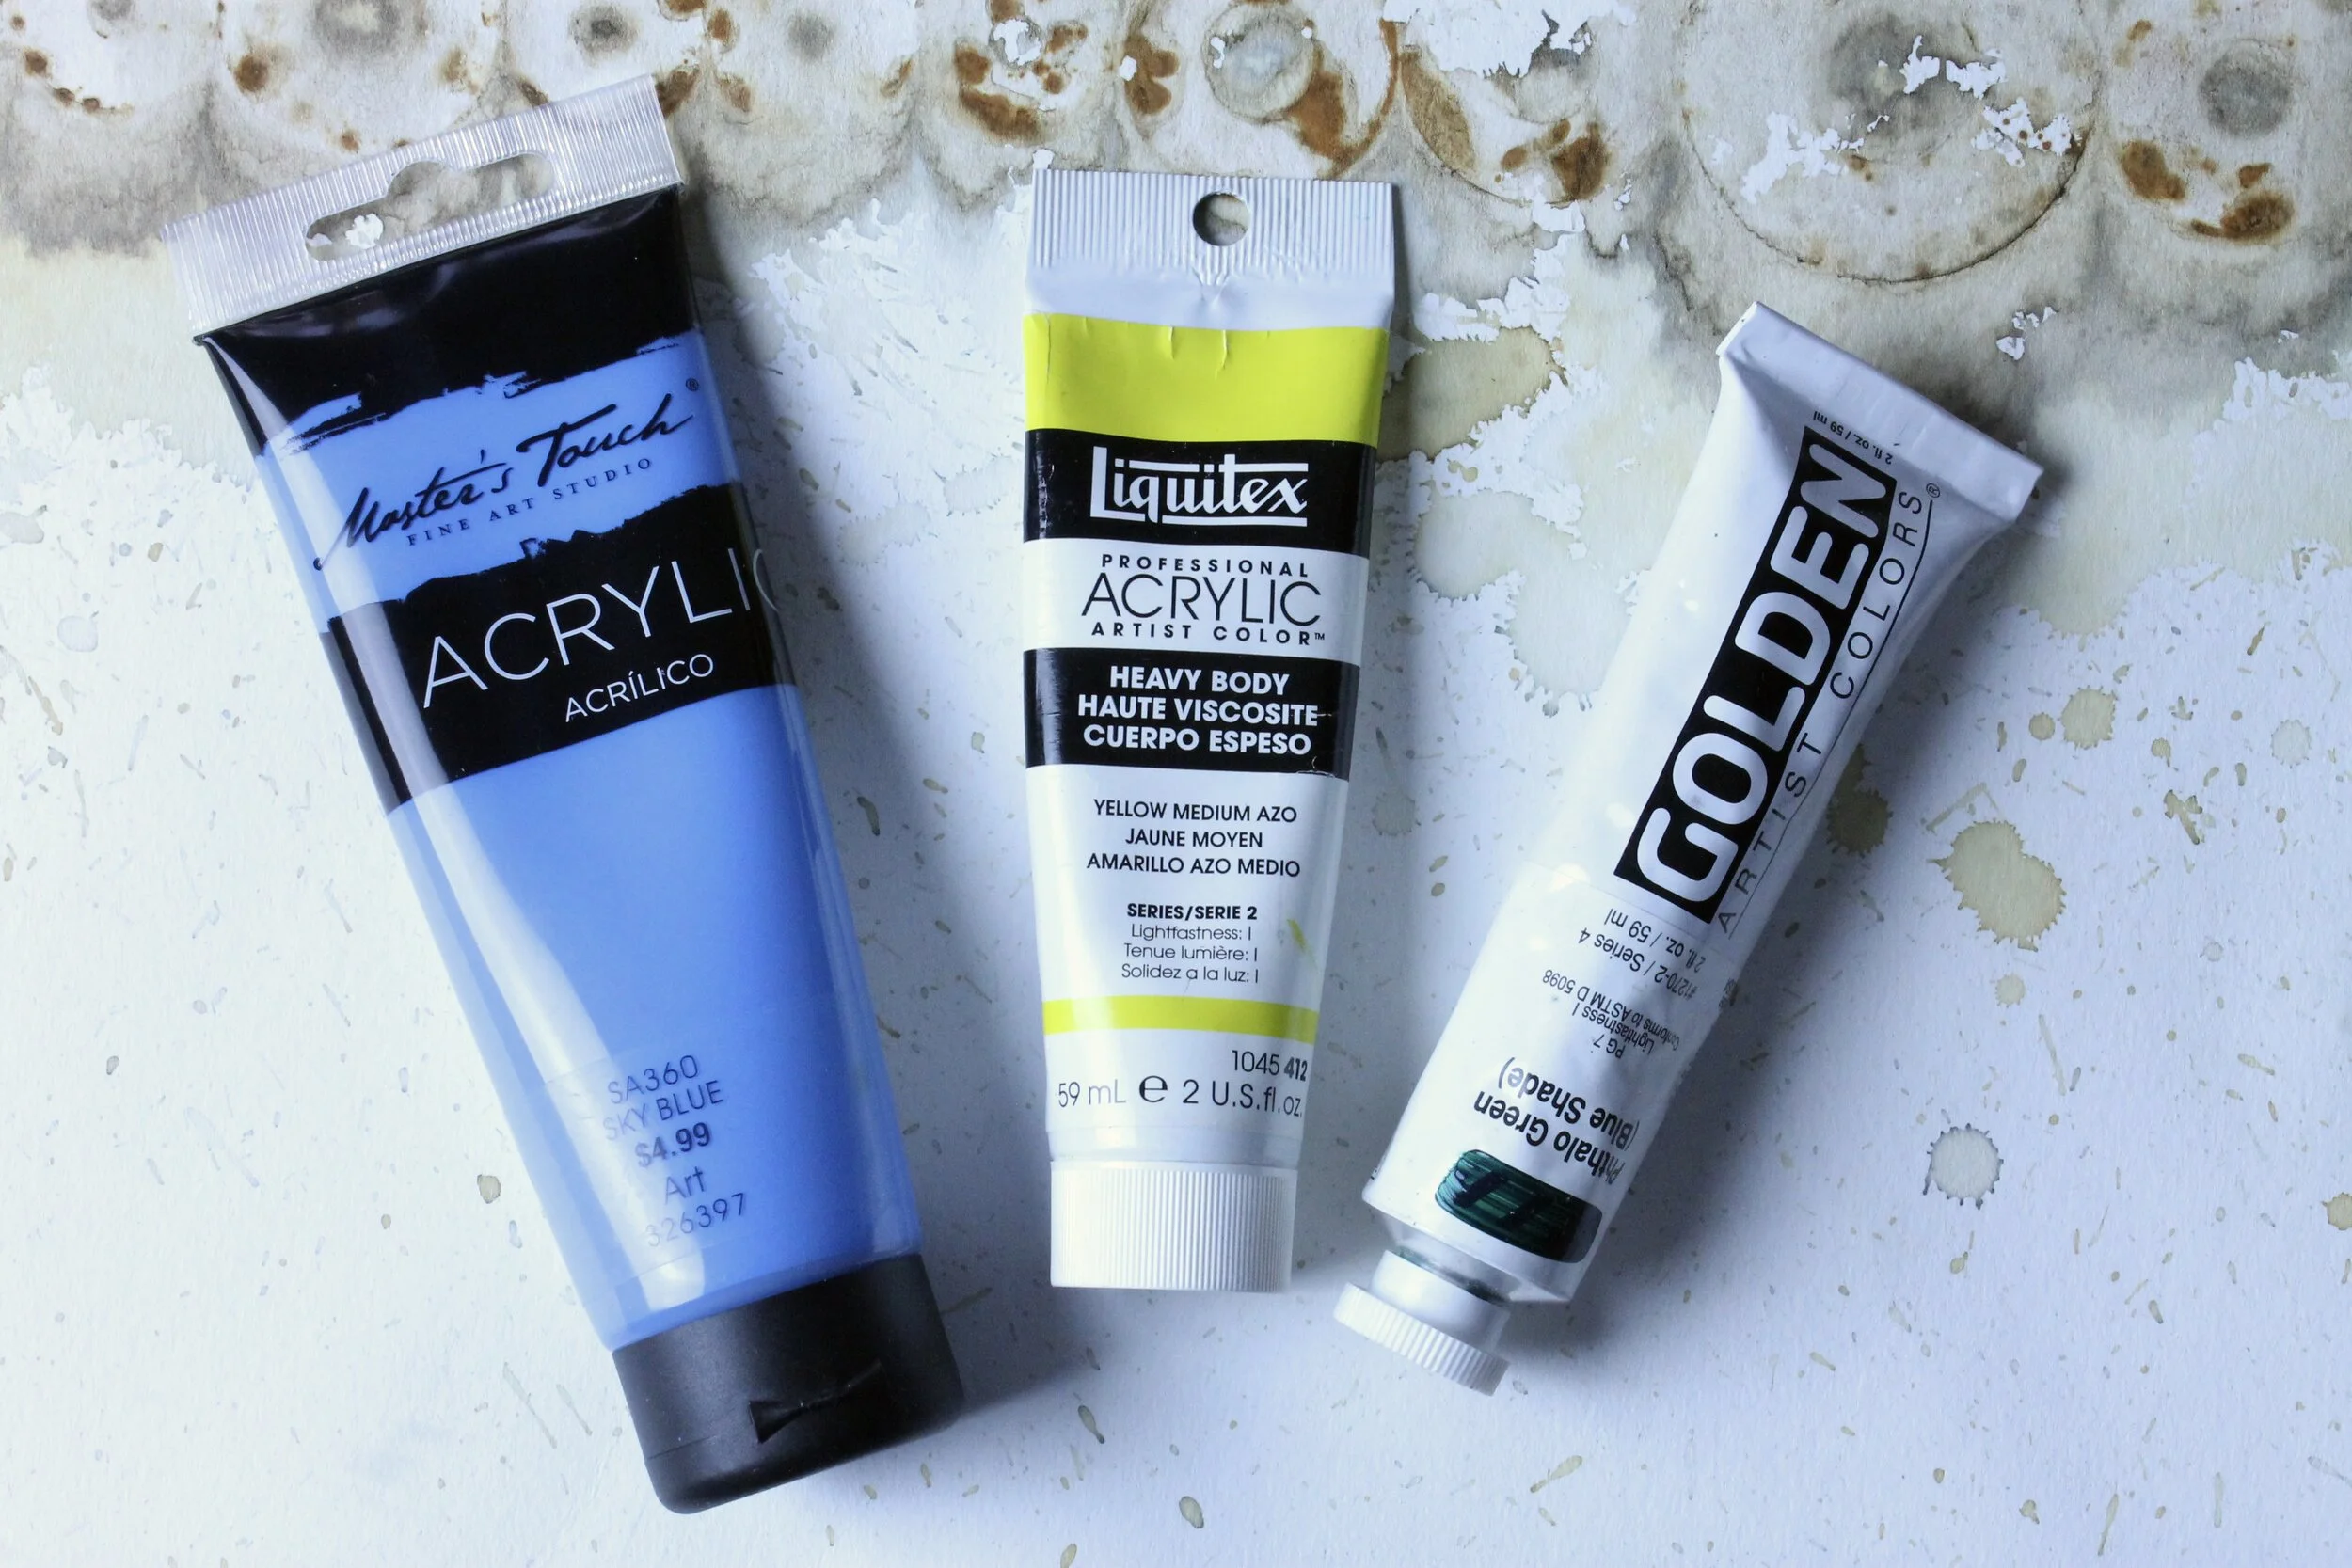
My go-to when it comes to color is acrylic. I use anything from the liquid kind shown above (the cheap kind that you can find in abundance at any craft store) to higher end paint (see image below), which is thicker and takes more effort to evenly distribute over the plate.
Higher End Acrylic Paints
I do want to mention that the type of paint that you use will impact how your prints turn out. While the liquid acrylic paints are easier on your wallet, I am not always excited about how the color dries due to the low quality of pigment used in the paint. Higher end acrylic paints may cost more up front, but I am happier with the results.
When you first start printing, I recommend using the lower quality paints. Printing is an addictive art form! You can easily spend an entire afternoon experimenting with your printing plate. This is great for accumulating papers for bookmaking and collages and you do go through A LOT of paint when you are first learning how to print.
Various India Inks
While I typically prefer to use acrylic paints, I do use other mediums to print. India Inks are some of my favorite when I want to prep papers to print. I will make various marks (such as lines, dashes, splatters). Adding marks prior to printing will add depth and texture to your prints.
Watercolors
Watercolors are another medium that I use with my prints. I use them like I do India inks. I make marks on blank paper as a way to prep paper for printing. While I enjoy using papers I found or salvage, I also use new paper when.creating covers for books that I will eventually sell. That paper is a heavier weight and can withstand several layers of wet mediums.
You don’t always need the most high end art supplies to create a beautiful print. Buying watercolors at your local grocery store will work just as effectively as the high end ones you would find at an art store. But as your learning your printmaking style, start off easy (and cheap!) with your supplies.
Are you getting excited and ready to print! I know I am! Starting in April, I am going to participate in a 30 Day Mark Making Challenge. I have done these in the past and they are loads of fun! So what do you say? Want to join me in making some fun and funky artist books?
{ Printmaking Series #2 : Mark Making Tools } : Winter 2021
In my last post, I talked about the different types of papers that one can use to pull prints. In this post, I will show you a small amount of the tools that I use to create the prints seen here.
In each photo, I will explain the tools that you see and how to find them.
Handmade Stamps Using Sticky Back Fun Foam, Garden Knee Pads and Reclaimed Cardboard
These mark marking tools are some of my all time favorites! I use them my handmade stamps in my prints the most often because they are truly original tools and they are CHEAP to make. I raid the recycling bin to find corrugated cardboard (which is a great stamp within itself). I buy the gardening knee pads when they go on sale in late fall or (if you have to have them NOW), I find them in abundance at Big Lots. You can buy sheets of sticky back fun foam at your local craft store.
I do not have any sort of pattern that I go for when I create my stamps. I cut organically and hope for the best. One of the reasons I love creating stamps this way is because of the SIZE I can make my stamps. I pull prints from a 9 x 12” gel plate. That is a lot of landscape to cover! I start with a large base (such as the kneeling pads or cardboard) and I cut foam to create the stamps. In some cases, I have taken foam scraps from students and have created stamps from the leftovers.
**Please note: If you like pristine stamps, this process is not for you! The stamps with the knee pads as a base are washable, but the cardboard backed have a limited life span since you cannot wash them.
If you like using your handwriting as a. mark making tools, these are for you! Chop sticks, skewers, pottery tools that I borrowed from my daughter (that are now mine) and some other tools that I do not have names for but use for writing. Printmaking is an unusual way to document your life. If you like to keep a daily record of your life, consider using handwriting in your prints.
Dollar Store Finds: Lego Plate, Altered Pool Noodle, Child’s Toy Block and Sponge Rollers
The Dollar Store is a great place to hunt for printmaking tools! Aim for the toy and craft sections to find the best tools. Dollar Store finds are as much fun to hunt for as the thrift store, organizing the house or raiding your child’s toy box. Once you train your brain to look at things laterally, there really is no limit as to where you can find a very cool printmaking tool.
Fabric Store Finds: Plastic Mesh Canvas
These plastic mesh canvases make their way into my art in many ways. I cut and alter them to get different looks when I print. These canvases come in many different shapes and sizes. I find them at my local fabric store near the yarn section. Plastic mesh canvases are not only great mark making tool, they make great stamps as well. This will add depth to your prints as you become more proficient in your printmaking process.
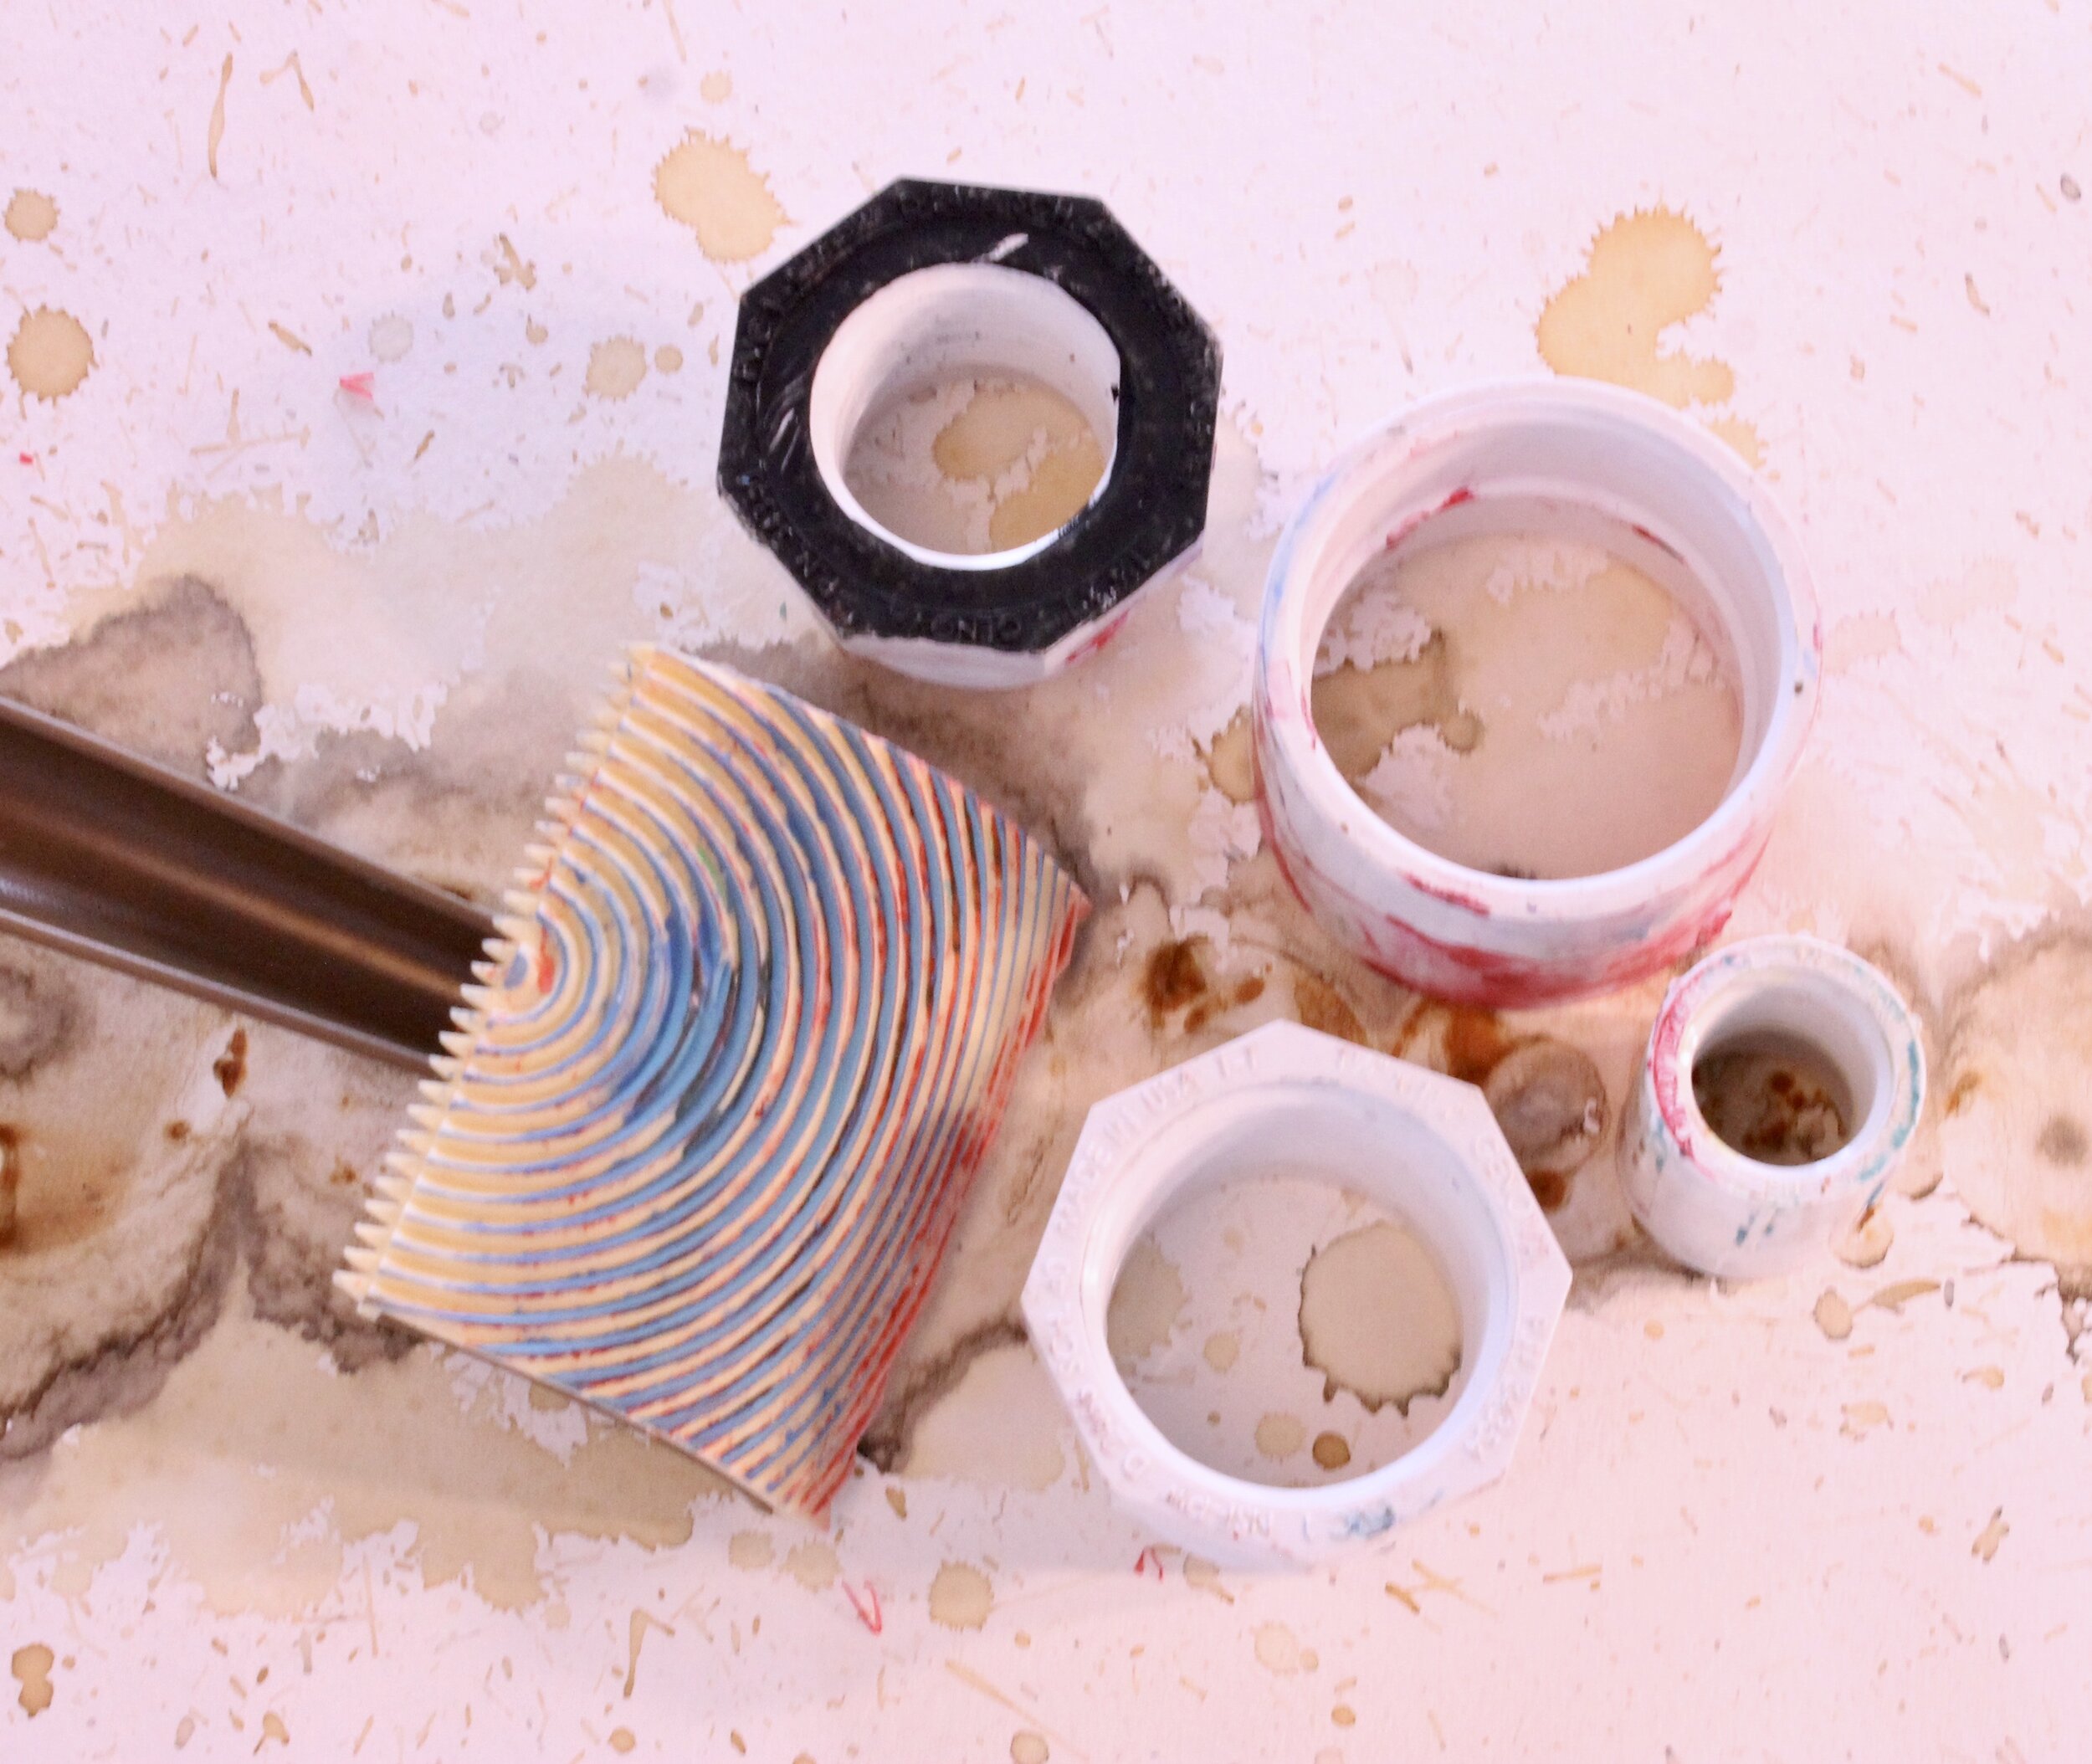
Hardware Store Finds: Plumbing Fittings and Texture Tool
The hardware store is an unlikely place to find printmaking tools but it is a gold mine! One of the best reasons to shop at the hardware store for art supplies is the price. The Plumbing section is one of my favorites. Plastic fittings cost less than a dollar and there are loads of shapes and sizes to choose from when it comes to printmaking. And, even better, you can wash these after you are done playing to extend the life of your tools.
The Texture Tool is super fun to play around with on your plate. Try using a push/pull method while making a print. It gives the look of a faux wood finish that will add visual interest to your collage papers.
Did you take an Artist Date to the local thrift or dollar store and find some fun and funky papers to start your printmaking paper journey? Did you manage to locate a sweet score in an unlikely place?
Now its time to start harvesting your mark making tools. Take a stroll around your house…what kind of unique tools can you find that you already own?
In next week’s post, I will talk about the types of paint and the tools I use to apply color that I use when printing. Do you want to check out my handmade collage paper stash? See what kind of effect each tool provides when pulling a print?


