{ Printmaking Series #3 : Applying Color } : Spring 2021

In this week’s Printmaking post, I will discuss the color that can be applied to your plate. Depending on your printing preference (I love grungy, multi-layered prints), color can be applied in a wide variety of ways.

Lower End Liquid Acrylic Paints

Lower End Liquid Acrylic Paints

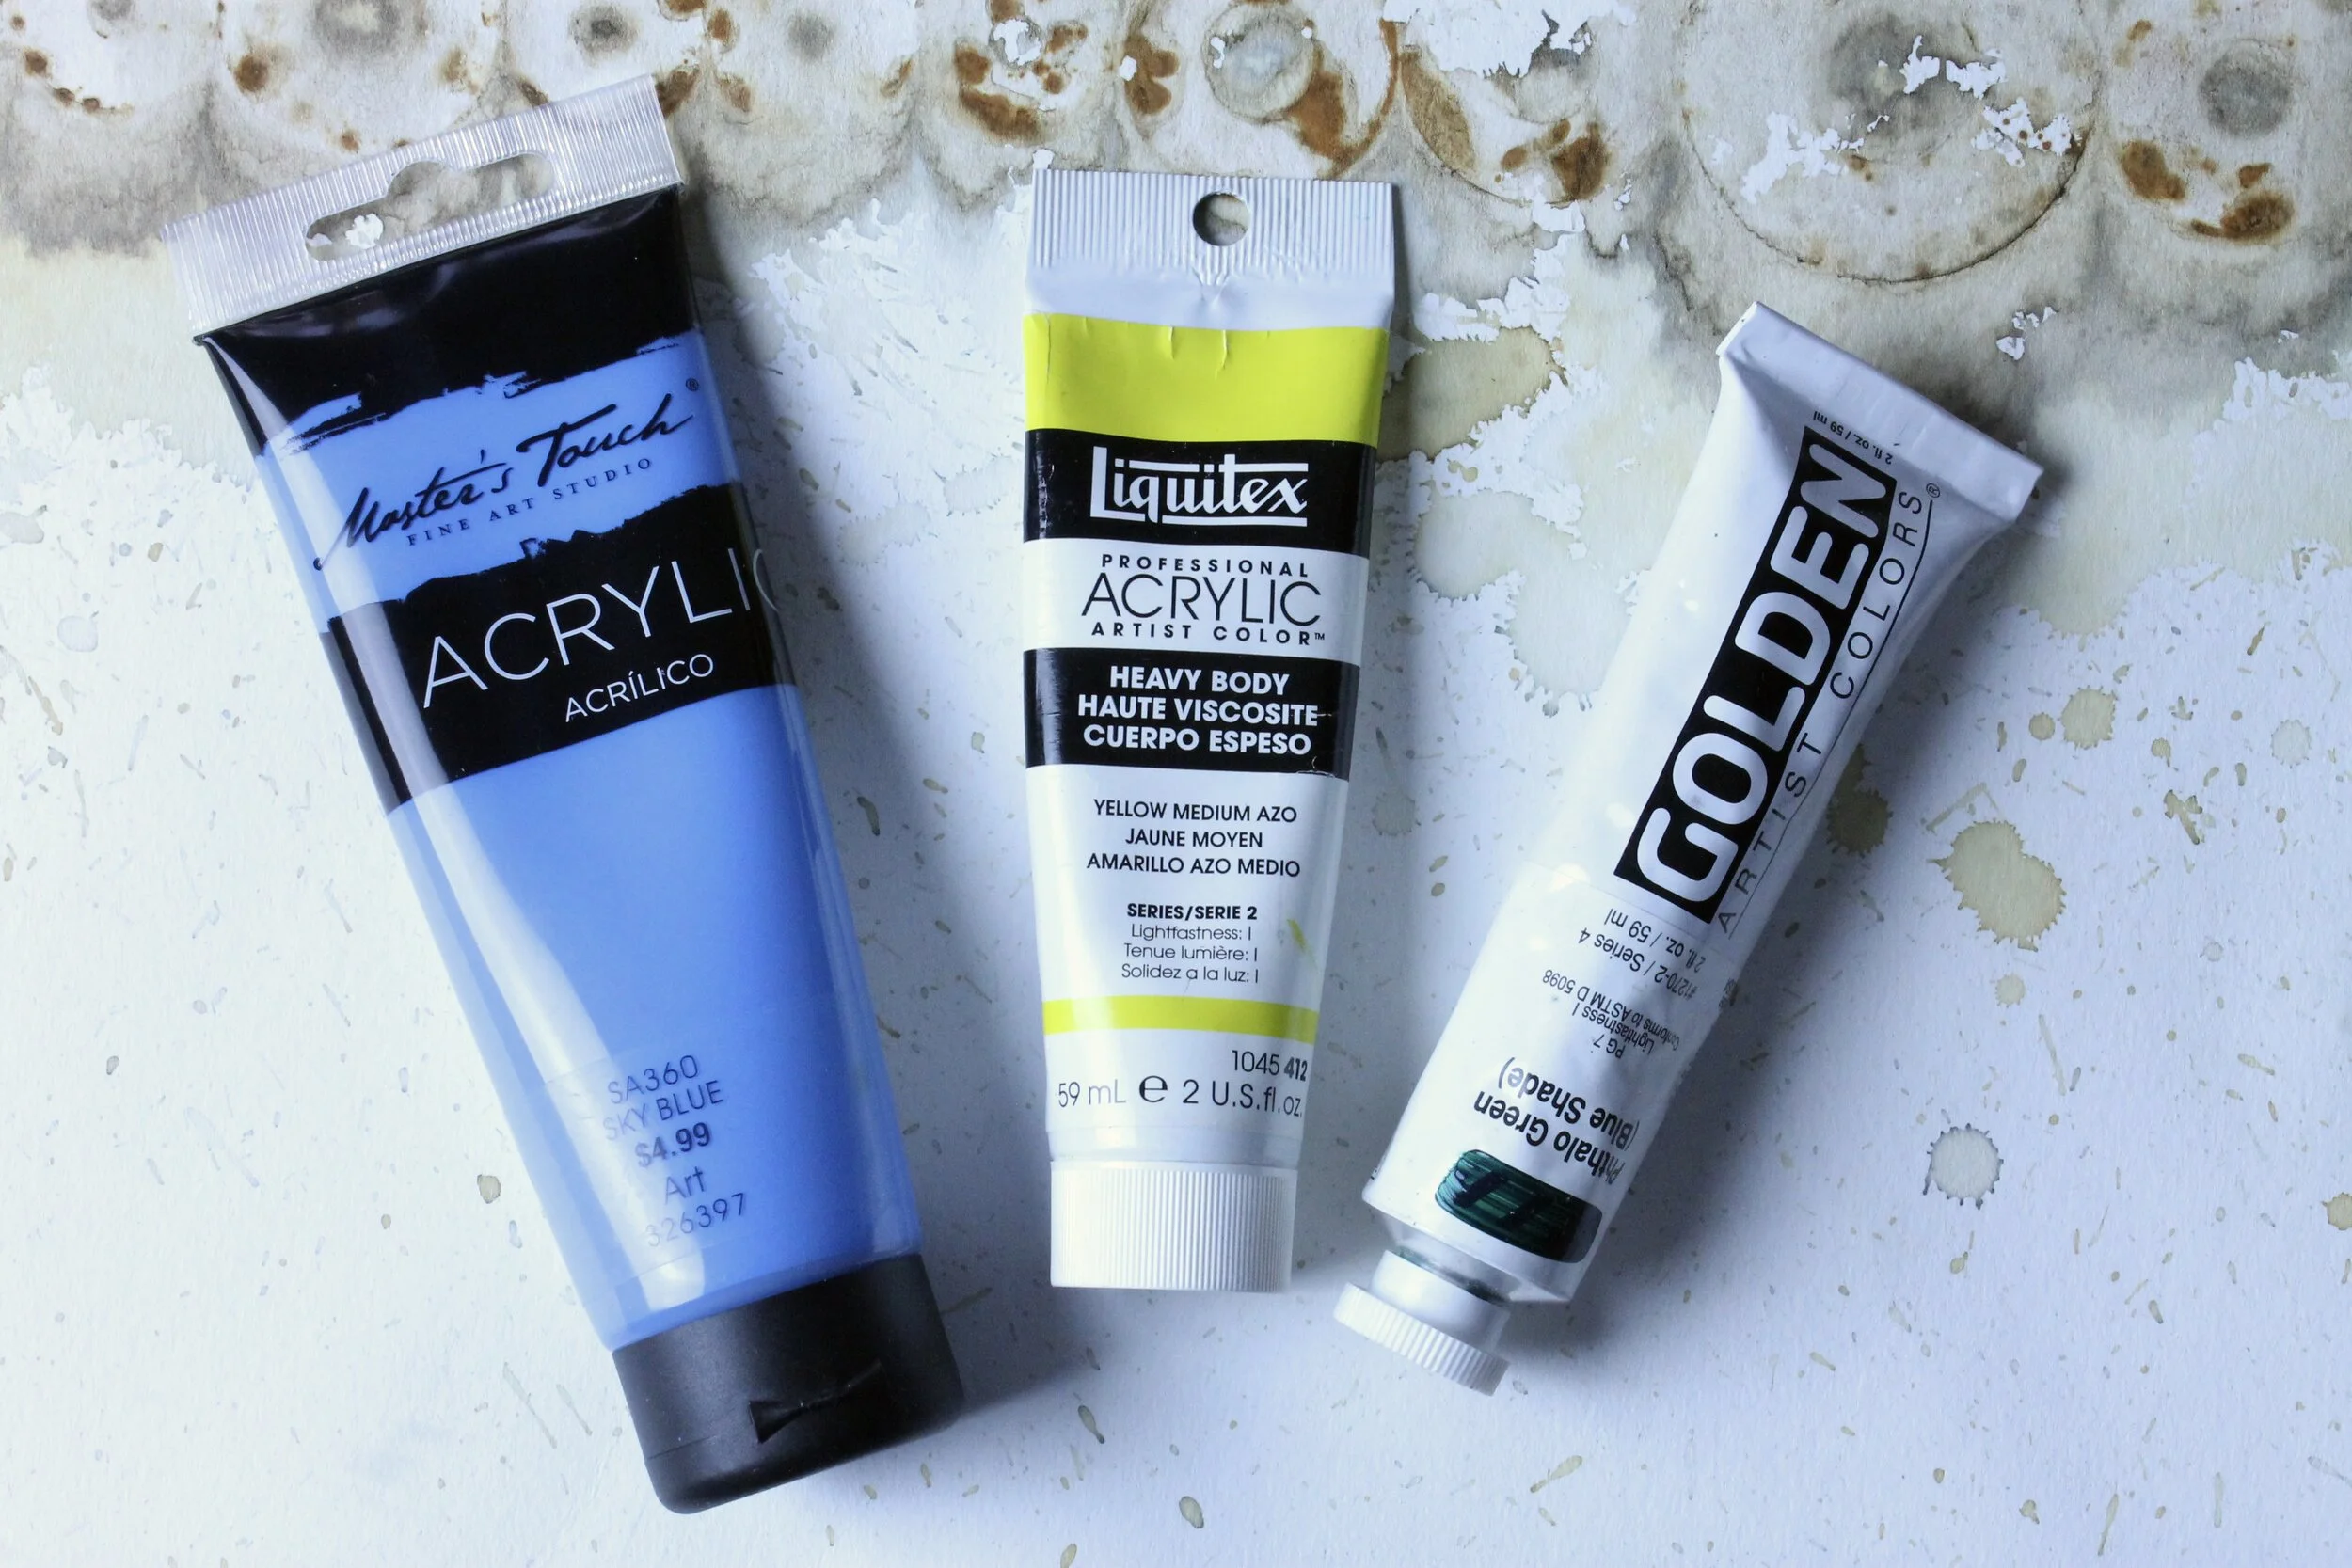
My go-to when it comes to color is acrylic. I use anything from the liquid kind shown above (the cheap kind that you can find in abundance at any craft store) to higher end paint (see image below), which is thicker and takes more effort to evenly distribute over the plate.

Higher End Acrylic Paints

Higher End Acrylic Paints

I do want to mention that the type of paint that you use will impact how your prints turn out. While the liquid acrylic paints are easier on your wallet, I am not always excited about how the color dries due to the low quality of pigment used in the paint. Higher end acrylic paints may cost more up front, but I am happier with the results.

When you first start printing, I recommend using the lower quality paints. Printing is an addictive art form! You can easily spend an entire afternoon experimenting with your printing plate. This is great for accumulating papers for bookmaking and collages and you do go through A LOT of paint when you are first learning how to print.

Various India Inks

Various India Inks

While I typically prefer to use acrylic paints, I do use other mediums to print. India Inks are some of my favorite when I want to prep papers to print. I will make various marks (such as lines, dashes, splatters). Adding marks prior to printing will add depth and texture to your prints.

Watercolors

Watercolors

Watercolors are another medium that I use with my prints. I use them like I do India inks. I make marks on blank paper as a way to prep paper for printing. While I enjoy using papers I found or salvage, I also use new paper when.creating covers for books that I will eventually sell. That paper is a heavier weight and can withstand several layers of wet mediums.

You don’t always need the most high end art supplies to create a beautiful print. Buying watercolors at your local grocery store will work just as effectively as the high end ones you would find at an art store. But as your learning your printmaking style, start off easy (and cheap!) with your supplies.

Are you getting excited and ready to print! I know I am! Starting in April, I am going to participate in a 30 Day Mark Making Challenge. I have done these in the past and they are loads of fun! So what do you say? Want to join me in making some fun and funky artist books?

{ Printmaking Series #2 : Mark Making Tools } : Winter 2021

In my last post, I talked about the different types of papers that one can use to pull prints. In this post, I will show you a small amount of the tools that I use to create the prints seen here.

In each photo, I will explain the tools that you see and how to find them.

Handmade Stamps Using Sticky Back Fun Foam, Garden Knee Pads and Reclaimed Cardboard

Handmade Stamps Using Sticky Back Fun Foam, Garden Knee Pads and Reclaimed Cardboard

These mark marking tools are some of my all time favorites! I use them my handmade stamps in my prints the most often because they are truly original tools and they are CHEAP to make. I raid the recycling bin to find corrugated cardboard (which is a great stamp within itself). I buy the gardening knee pads when they go on sale in late fall or (if you have to have them NOW), I find them in abundance at Big Lots. You can buy sheets of sticky back fun foam at your local craft store.

I do not have any sort of pattern that I go for when I create my stamps. I cut organically and hope for the best. One of the reasons I love creating stamps this way is because of the SIZE I can make my stamps. I pull prints from a 9 x 12” gel plate. That is a lot of landscape to cover! I start with a large base (such as the kneeling pads or cardboard) and I cut foam to create the stamps. In some cases, I have taken foam scraps from students and have created stamps from the leftovers.

**Please note: If you like pristine stamps, this process is not for you! The stamps with the knee pads as a base are washable, but the cardboard backed have a limited life span since you cannot wash them.

Chopsticks, Pottery Tools, Cola Pens and Paintbrush Handles

Chopsticks, Pottery Tools, Cola Pens and Paintbrush Handles

If you like using your handwriting as a. mark making tools, these are for you! Chop sticks, skewers, pottery tools that I borrowed from my daughter (that are now mine) and some other tools that I do not have names for but use for writing. Printmaking is an unusual way to document your life. If you like to keep a daily record of your life, consider using handwriting in your prints.

Dollar Store Finds: Lego Plate, Altered Pool Noodle, Child’s Toy Block and Sponge Rollers

Dollar Store Finds: Lego Plate, Altered Pool Noodle, Child’s Toy Block and Sponge Rollers

The Dollar Store is a great place to hunt for printmaking tools! Aim for the toy and craft sections to find the best tools. Dollar Store finds are as much fun to hunt for as the thrift store, organizing the house or raiding your child’s toy box. Once you train your brain to look at things laterally, there really is no limit as to where you can find a very cool printmaking tool.

Fabric Store Finds: Plastic Mesh Canvas

Fabric Store Finds: Plastic Mesh Canvas

These plastic mesh canvases make their way into my art in many ways. I cut and alter them to get different looks when I print. These canvases come in many different shapes and sizes. I find them at my local fabric store near the yarn section. Plastic mesh canvases are not only great mark making tool, they make great stamps as well. This will add depth to your prints as you become more proficient in your printmaking process.

Hardware Store Finds: Plumbing Fittings and Texture Tool

Hardware Store Finds: Plumbing Fittings and Texture Tool

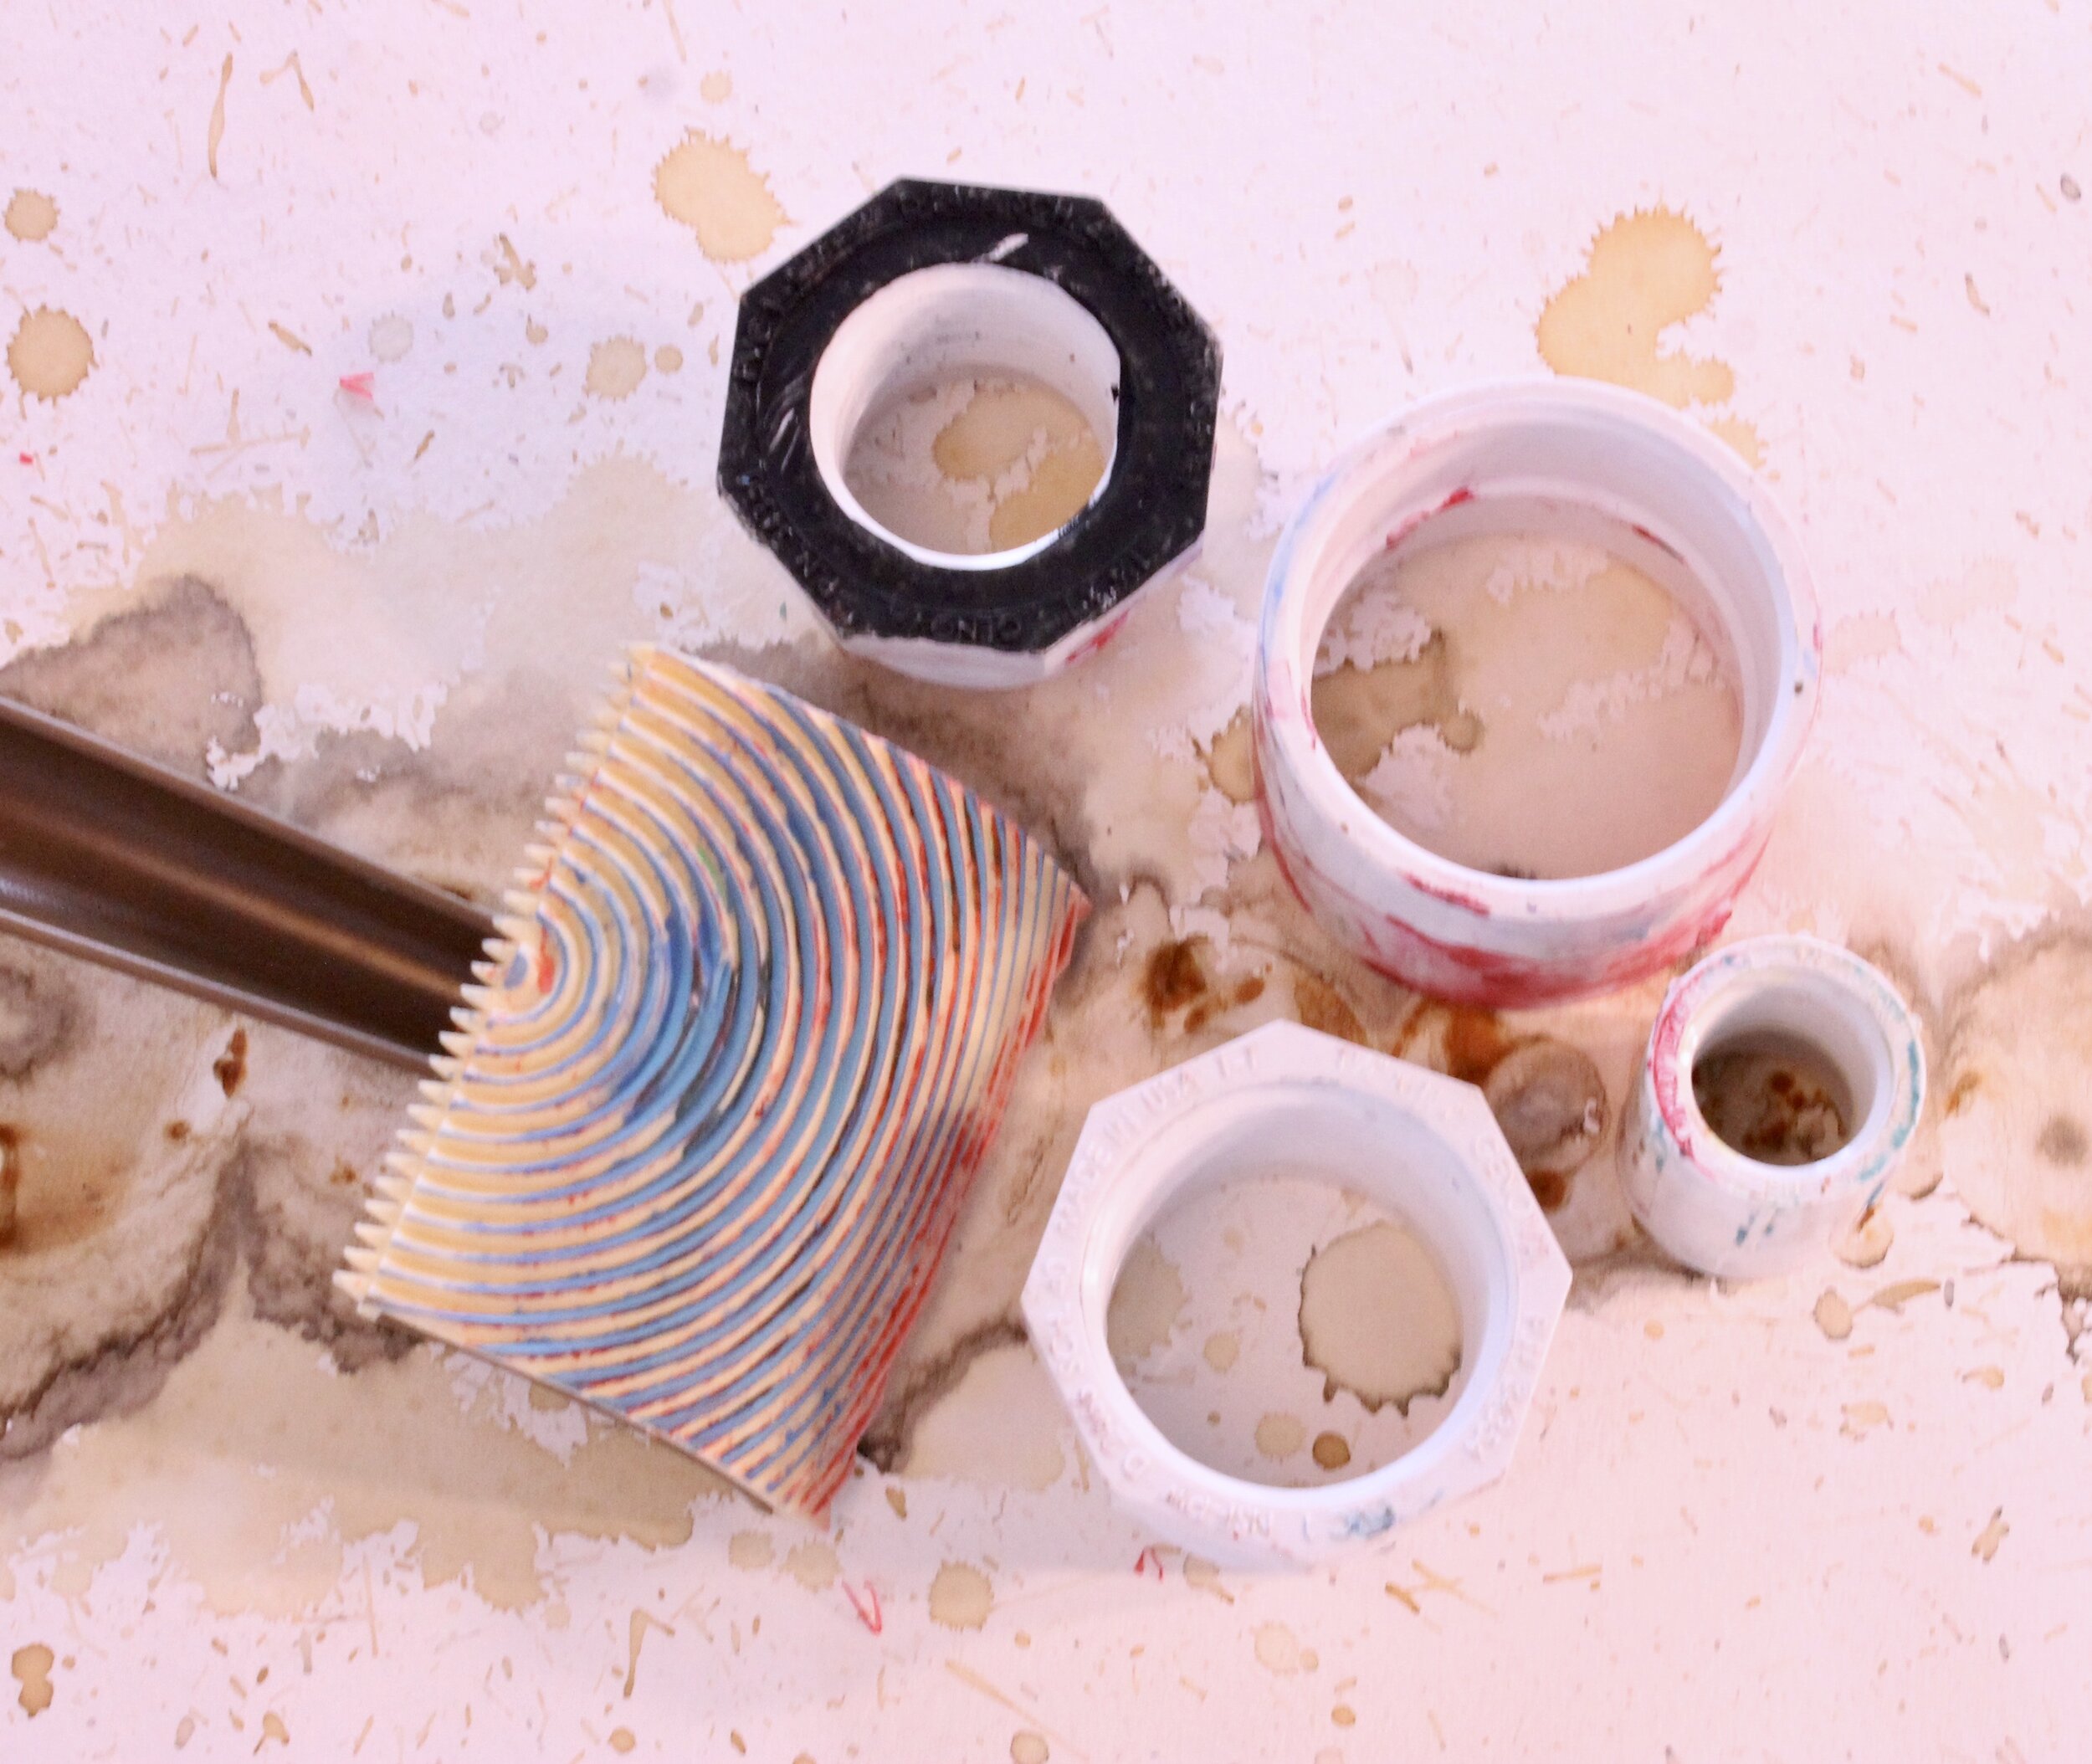
The hardware store is an unlikely place to find printmaking tools but it is a gold mine! One of the best reasons to shop at the hardware store for art supplies is the price. The Plumbing section is one of my favorites. Plastic fittings cost less than a dollar and there are loads of shapes and sizes to choose from when it comes to printmaking. And, even better, you can wash these after you are done playing to extend the life of your tools.

The Texture Tool is super fun to play around with on your plate. Try using a push/pull method while making a print. It gives the look of a faux wood finish that will add visual interest to your collage papers.

Did you take an Artist Date to the local thrift or dollar store and find some fun and funky papers to start your printmaking paper journey? Did you manage to locate a sweet score in an unlikely place?

Now its time to start harvesting your mark making tools. Take a stroll around your house…what kind of unique tools can you find that you already own?

In next week’s post, I will talk about the types of paint and the tools I use to apply color that I use when printing. Do you want to check out my handmade collage paper stash? See what kind of effect each tool provides when pulling a print?

{ Little Red Corvette } : 3x 5 x 1" : New Work by Becca Imbur // November 2020

{ Little Red Corvette } : 3 x 5 x 1” : Spine View

{ Little Red Corvette } : 3 x 5 x 1” : Spine View

{{ Little Red Corvette } : 3 x 5 x 1” : Front View

{{ Little Red Corvette } : 3 x 5 x 1” : Front View

{ Little Red Corvette } : 3 x 5 x 1” : Back View

{ Little Red Corvette } : 3 x 5 x 1” : Back View

{ Little Red Corvette } : 3 x 5 x 1” : Binding View

{ Little Red Corvette } : 3 x 5 x 1” : Binding View

{ Designing Artist Books : Workshop in Review } : Floyd, VA //

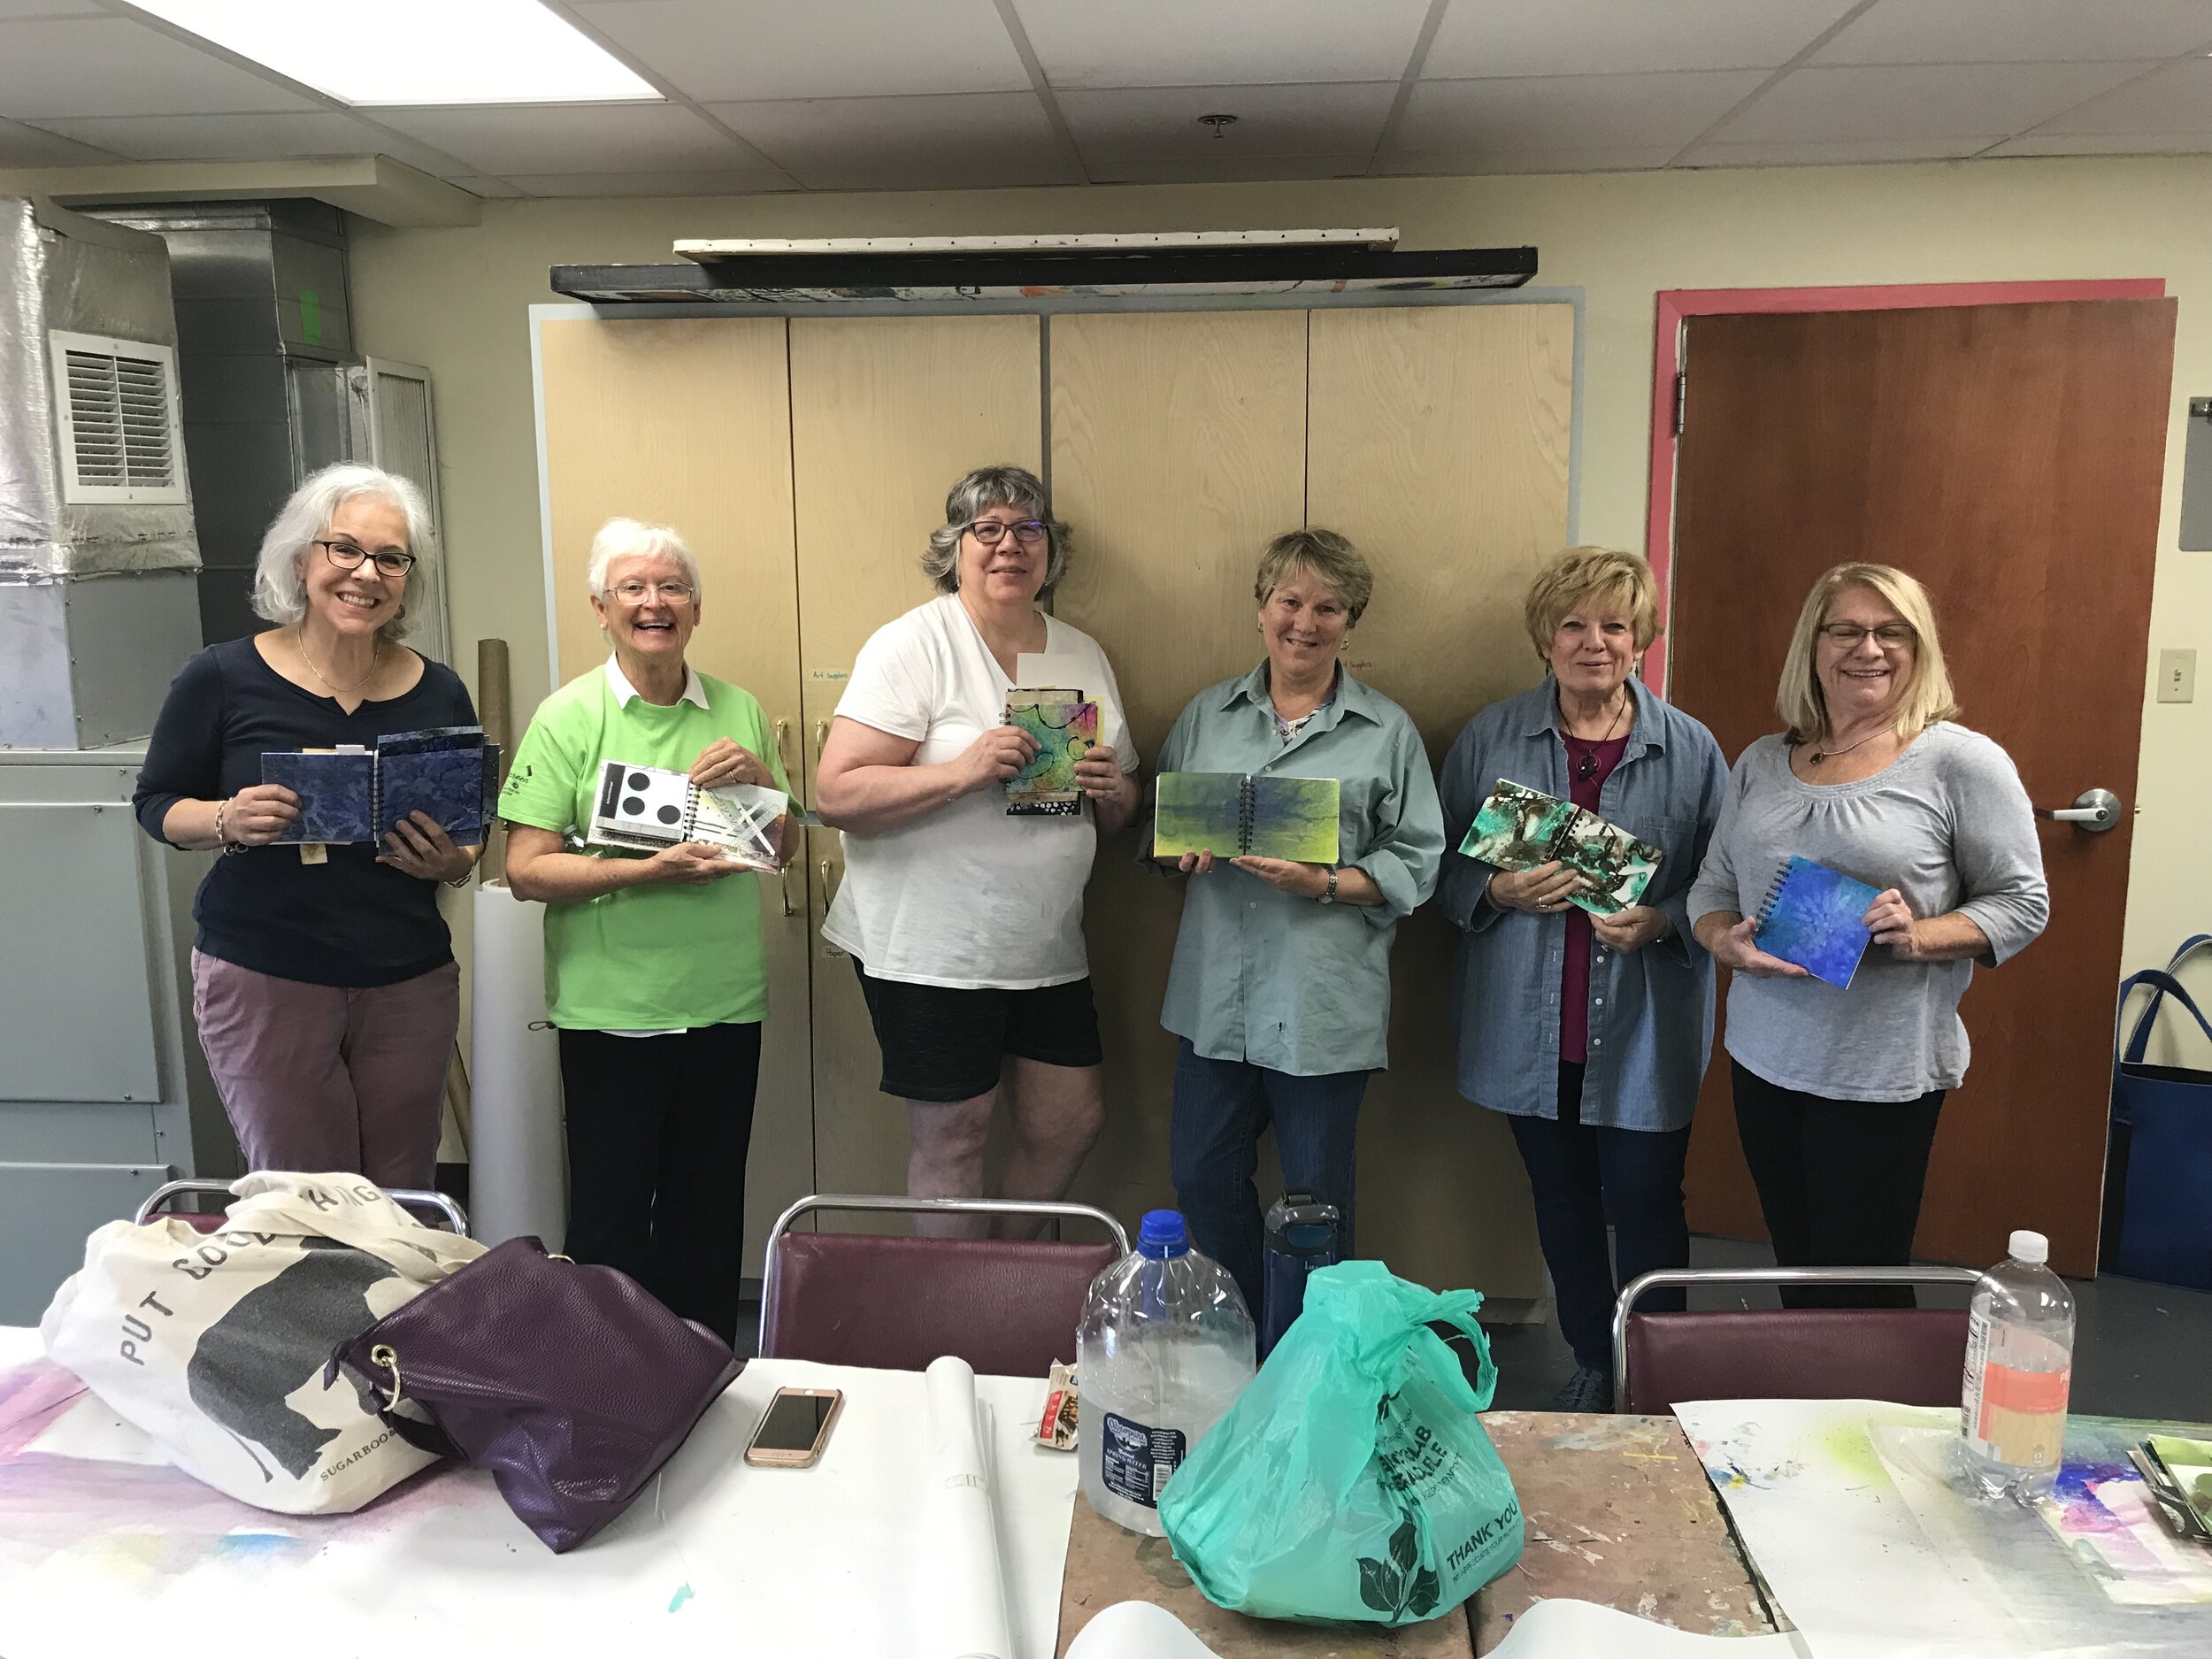
This past weekend, seven women gathered at the Floyd Center for the Arts for the Designing Artist Books workshop.

Group photo! All the amazing ladies that designed Artist Books with me this weekend!

Group photo! All the amazing ladies that designed Artist Books with me this weekend!

Plus Grace, who had to leave early for the opera!

Plus Grace, who had to leave early for the opera!

We explored many background paper techniques using wet-on-wet and dry processes. The end product was less important than the process. We learned to not judge what was made since the paper would be used as a piece and not as a whole. This can be a challenging concept for many people!

Using watercolors and rubbing alcohol to create unexpected results on paper

Using watercolors and rubbing alcohol to create unexpected results on paper

We made as many papers in 4 hours as we could. The participants could use any technique that they learned that day to make their cover paper.

MaryJo exploring art and science while creating her background papers

MaryJo exploring art and science while creating her background papers

Spray inks are always a huge success! Being highly pigmented make them very attractive to students of all ages.

Anne LOVES her ghost prints!

Anne LOVES her ghost prints!

Penny and Suzanne exploring spray inks…the possibilities are endless!

Penny and Suzanne exploring spray inks…the possibilities are endless!

Using everyday items found easily, on the cheap or around the home make pattern easy to create.

MaryJo using handmade stamps on black and Kraft cardstock paper

MaryJo using handmade stamps on black and Kraft cardstock paper

Our books are 6 x 6” while our papers are much larger. Participants cut down their papers to he desired size. This leaves them with loads of handprinted scrap paper to use as collage within their books.

Pat using scraps of her handprinted papers to collage her pages

Pat using scraps of her handprinted papers to collage her pages

We had an AMAZING time creating in community. The great thing about these books are that you can add, takeaway, make pages in any size, put int ages, envelopes, pockets and fold out pages. This is a book that is never done…making it organic and endless.

{ Designing Artist Books : September 21-22, 2019 } // Floyd, VA

I will be hosting ‘Designing Artist Books’ at the Floyd Center for the Arts. If you want to learn how to make super funky papers…(or what to do with all those papers taking up space that are too beautiful to throw away), this weekend workshop is for you! In addition to making a TON of vibrant, handprinted papers, we will learn how to use everyday household items as stamps, using our handwriting as pattern, easy collage techniques that make a big impact and more!

designingartistbooks_01
designingartistbooks_02
designingartistbooks_03
designigartistbooks_04
designingartistbooks_05
designingartistbooks_06