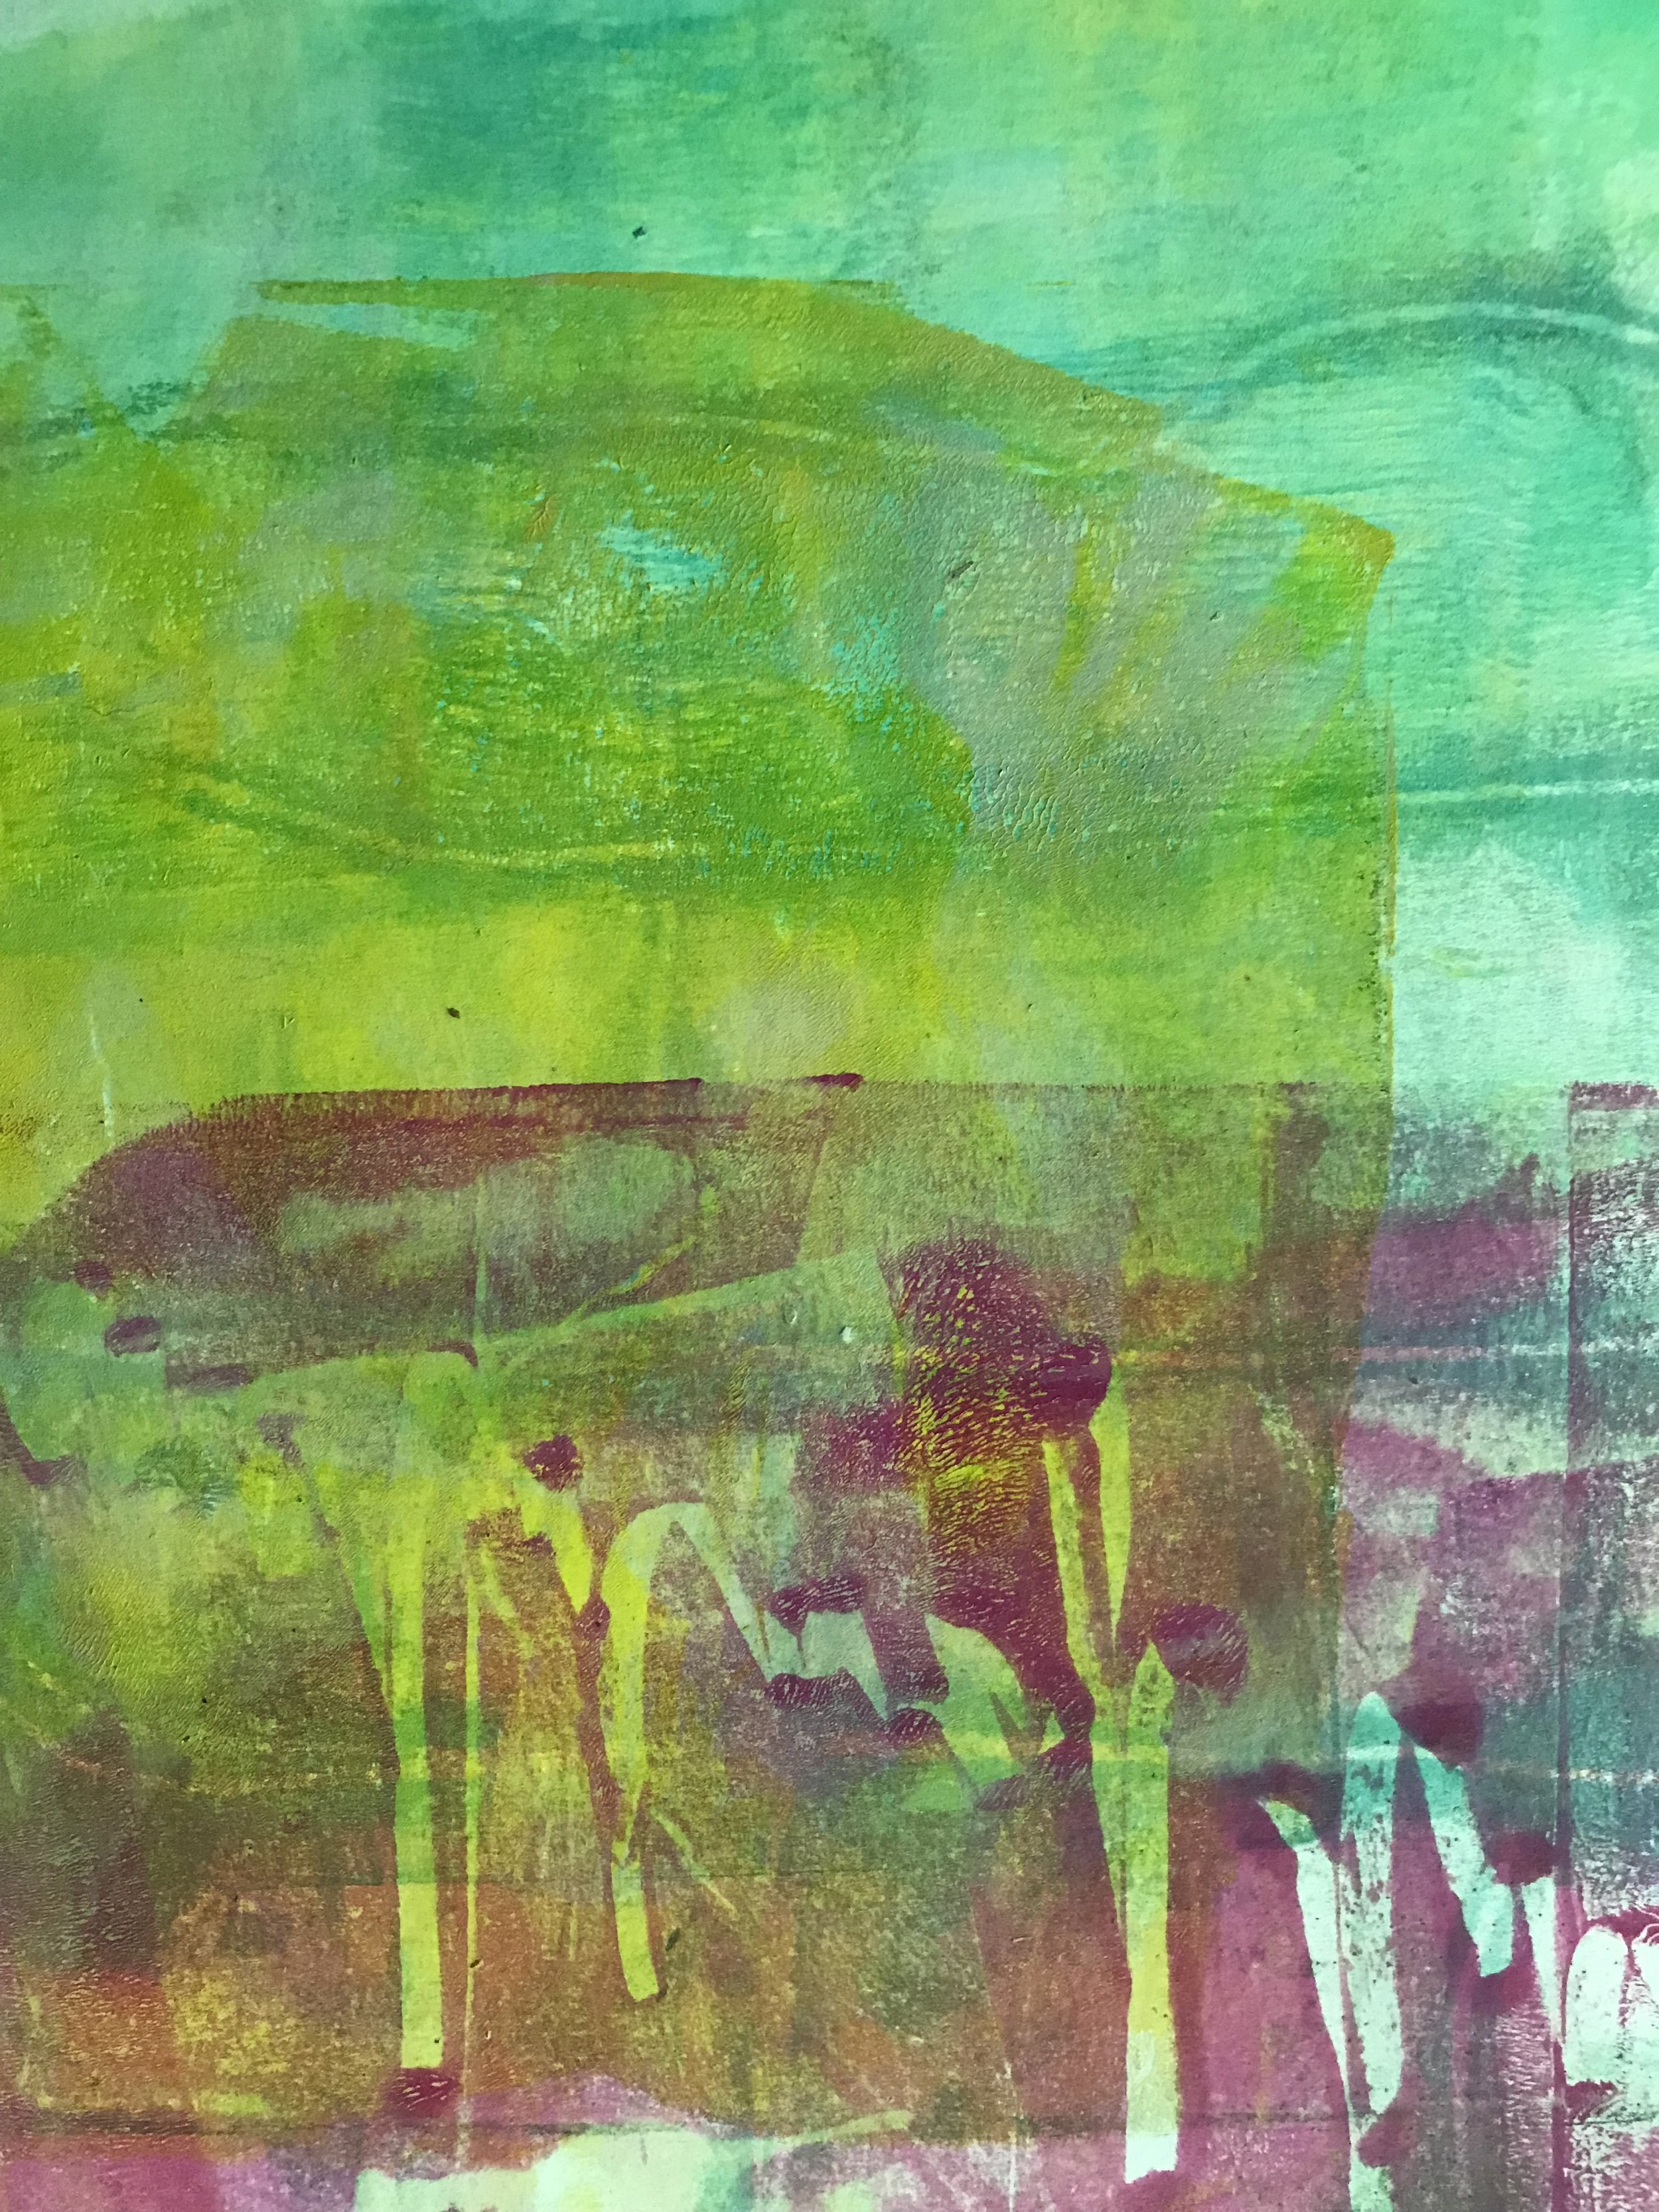
{ Printmaking Series #3 : Applying Color } : Spring 2021

In this week’s Printmaking post, I will discuss the color that can be applied to your plate. Depending on your printing preference (I love grungy, multi-layered prints), color can be applied in a wide variety of ways.

Lower End Liquid Acrylic Paints

Lower End Liquid Acrylic Paints

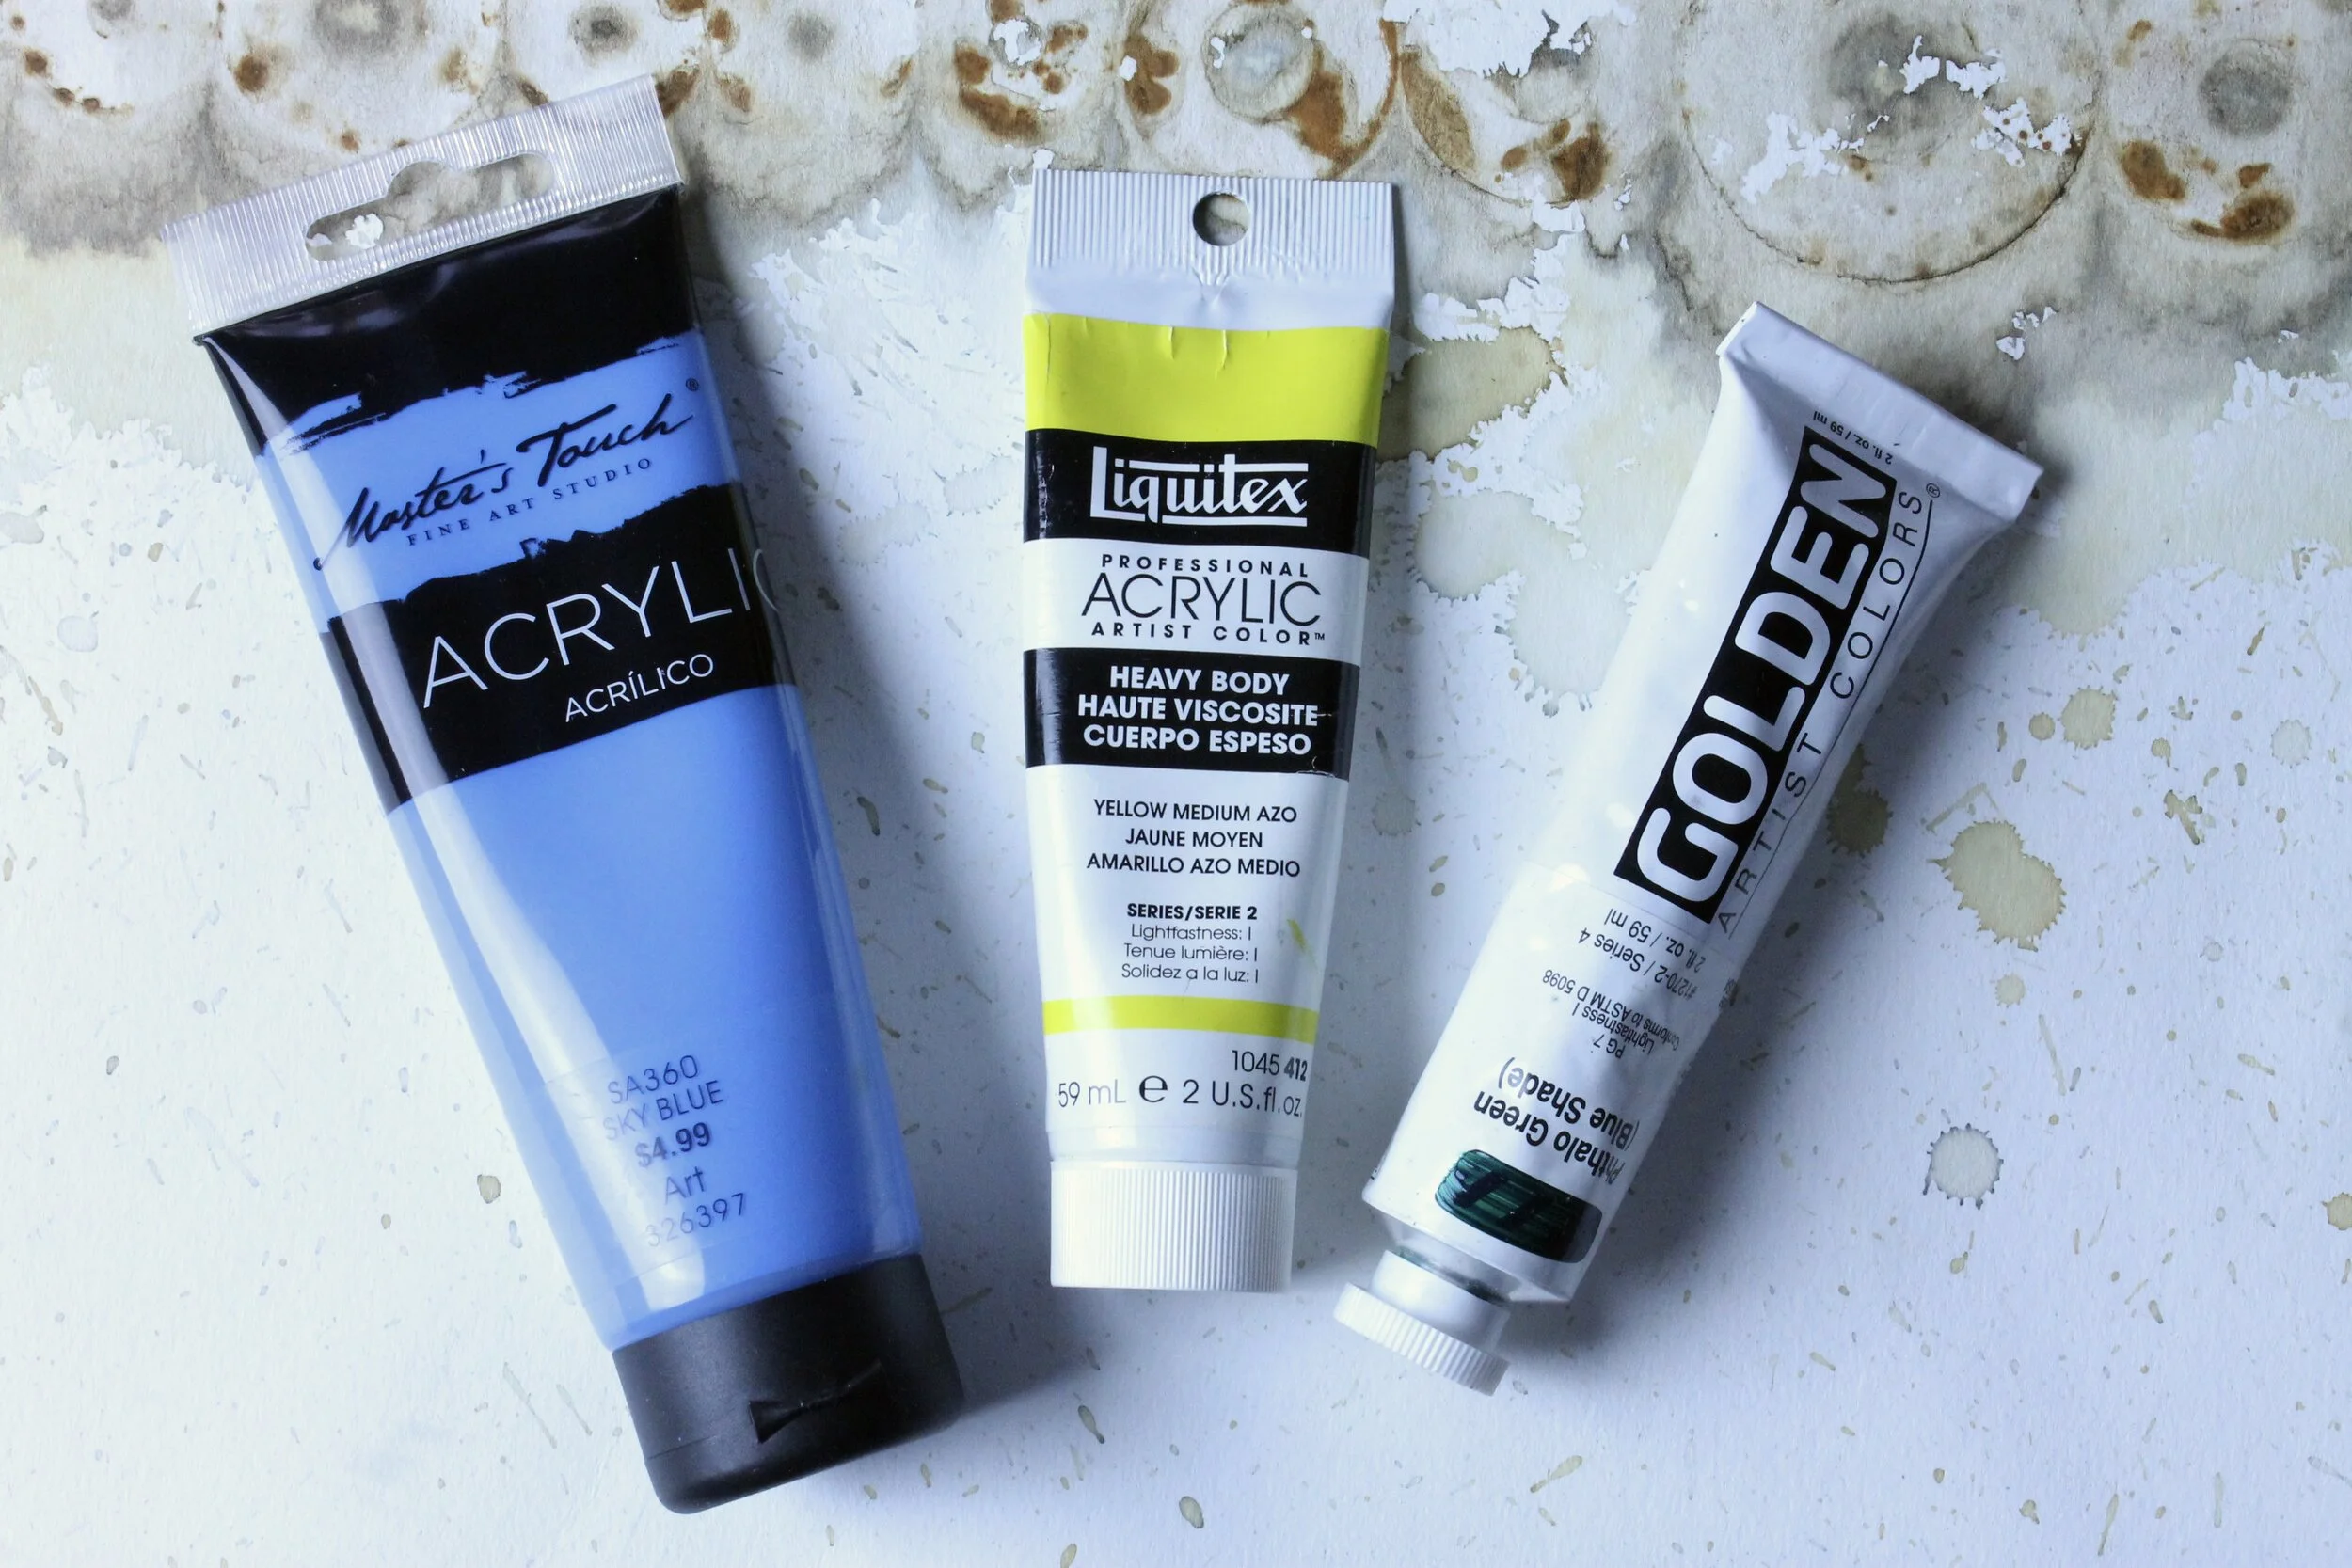
My go-to when it comes to color is acrylic. I use anything from the liquid kind shown above (the cheap kind that you can find in abundance at any craft store) to higher end paint (see image below), which is thicker and takes more effort to evenly distribute over the plate.

Higher End Acrylic Paints

Higher End Acrylic Paints

I do want to mention that the type of paint that you use will impact how your prints turn out. While the liquid acrylic paints are easier on your wallet, I am not always excited about how the color dries due to the low quality of pigment used in the paint. Higher end acrylic paints may cost more up front, but I am happier with the results.

When you first start printing, I recommend using the lower quality paints. Printing is an addictive art form! You can easily spend an entire afternoon experimenting with your printing plate. This is great for accumulating papers for bookmaking and collages and you do go through A LOT of paint when you are first learning how to print.

Various India Inks

Various India Inks

While I typically prefer to use acrylic paints, I do use other mediums to print. India Inks are some of my favorite when I want to prep papers to print. I will make various marks (such as lines, dashes, splatters). Adding marks prior to printing will add depth and texture to your prints.

Watercolors

Watercolors

Watercolors are another medium that I use with my prints. I use them like I do India inks. I make marks on blank paper as a way to prep paper for printing. While I enjoy using papers I found or salvage, I also use new paper when.creating covers for books that I will eventually sell. That paper is a heavier weight and can withstand several layers of wet mediums.

You don’t always need the most high end art supplies to create a beautiful print. Buying watercolors at your local grocery store will work just as effectively as the high end ones you would find at an art store. But as your learning your printmaking style, start off easy (and cheap!) with your supplies.

Are you getting excited and ready to print! I know I am! Starting in April, I am going to participate in a 30 Day Mark Making Challenge. I have done these in the past and they are loads of fun! So what do you say? Want to join me in making some fun and funky artist books?

{ Gelli Plate Prints : Exploration with Paper & Paint } : Winter 2021 //

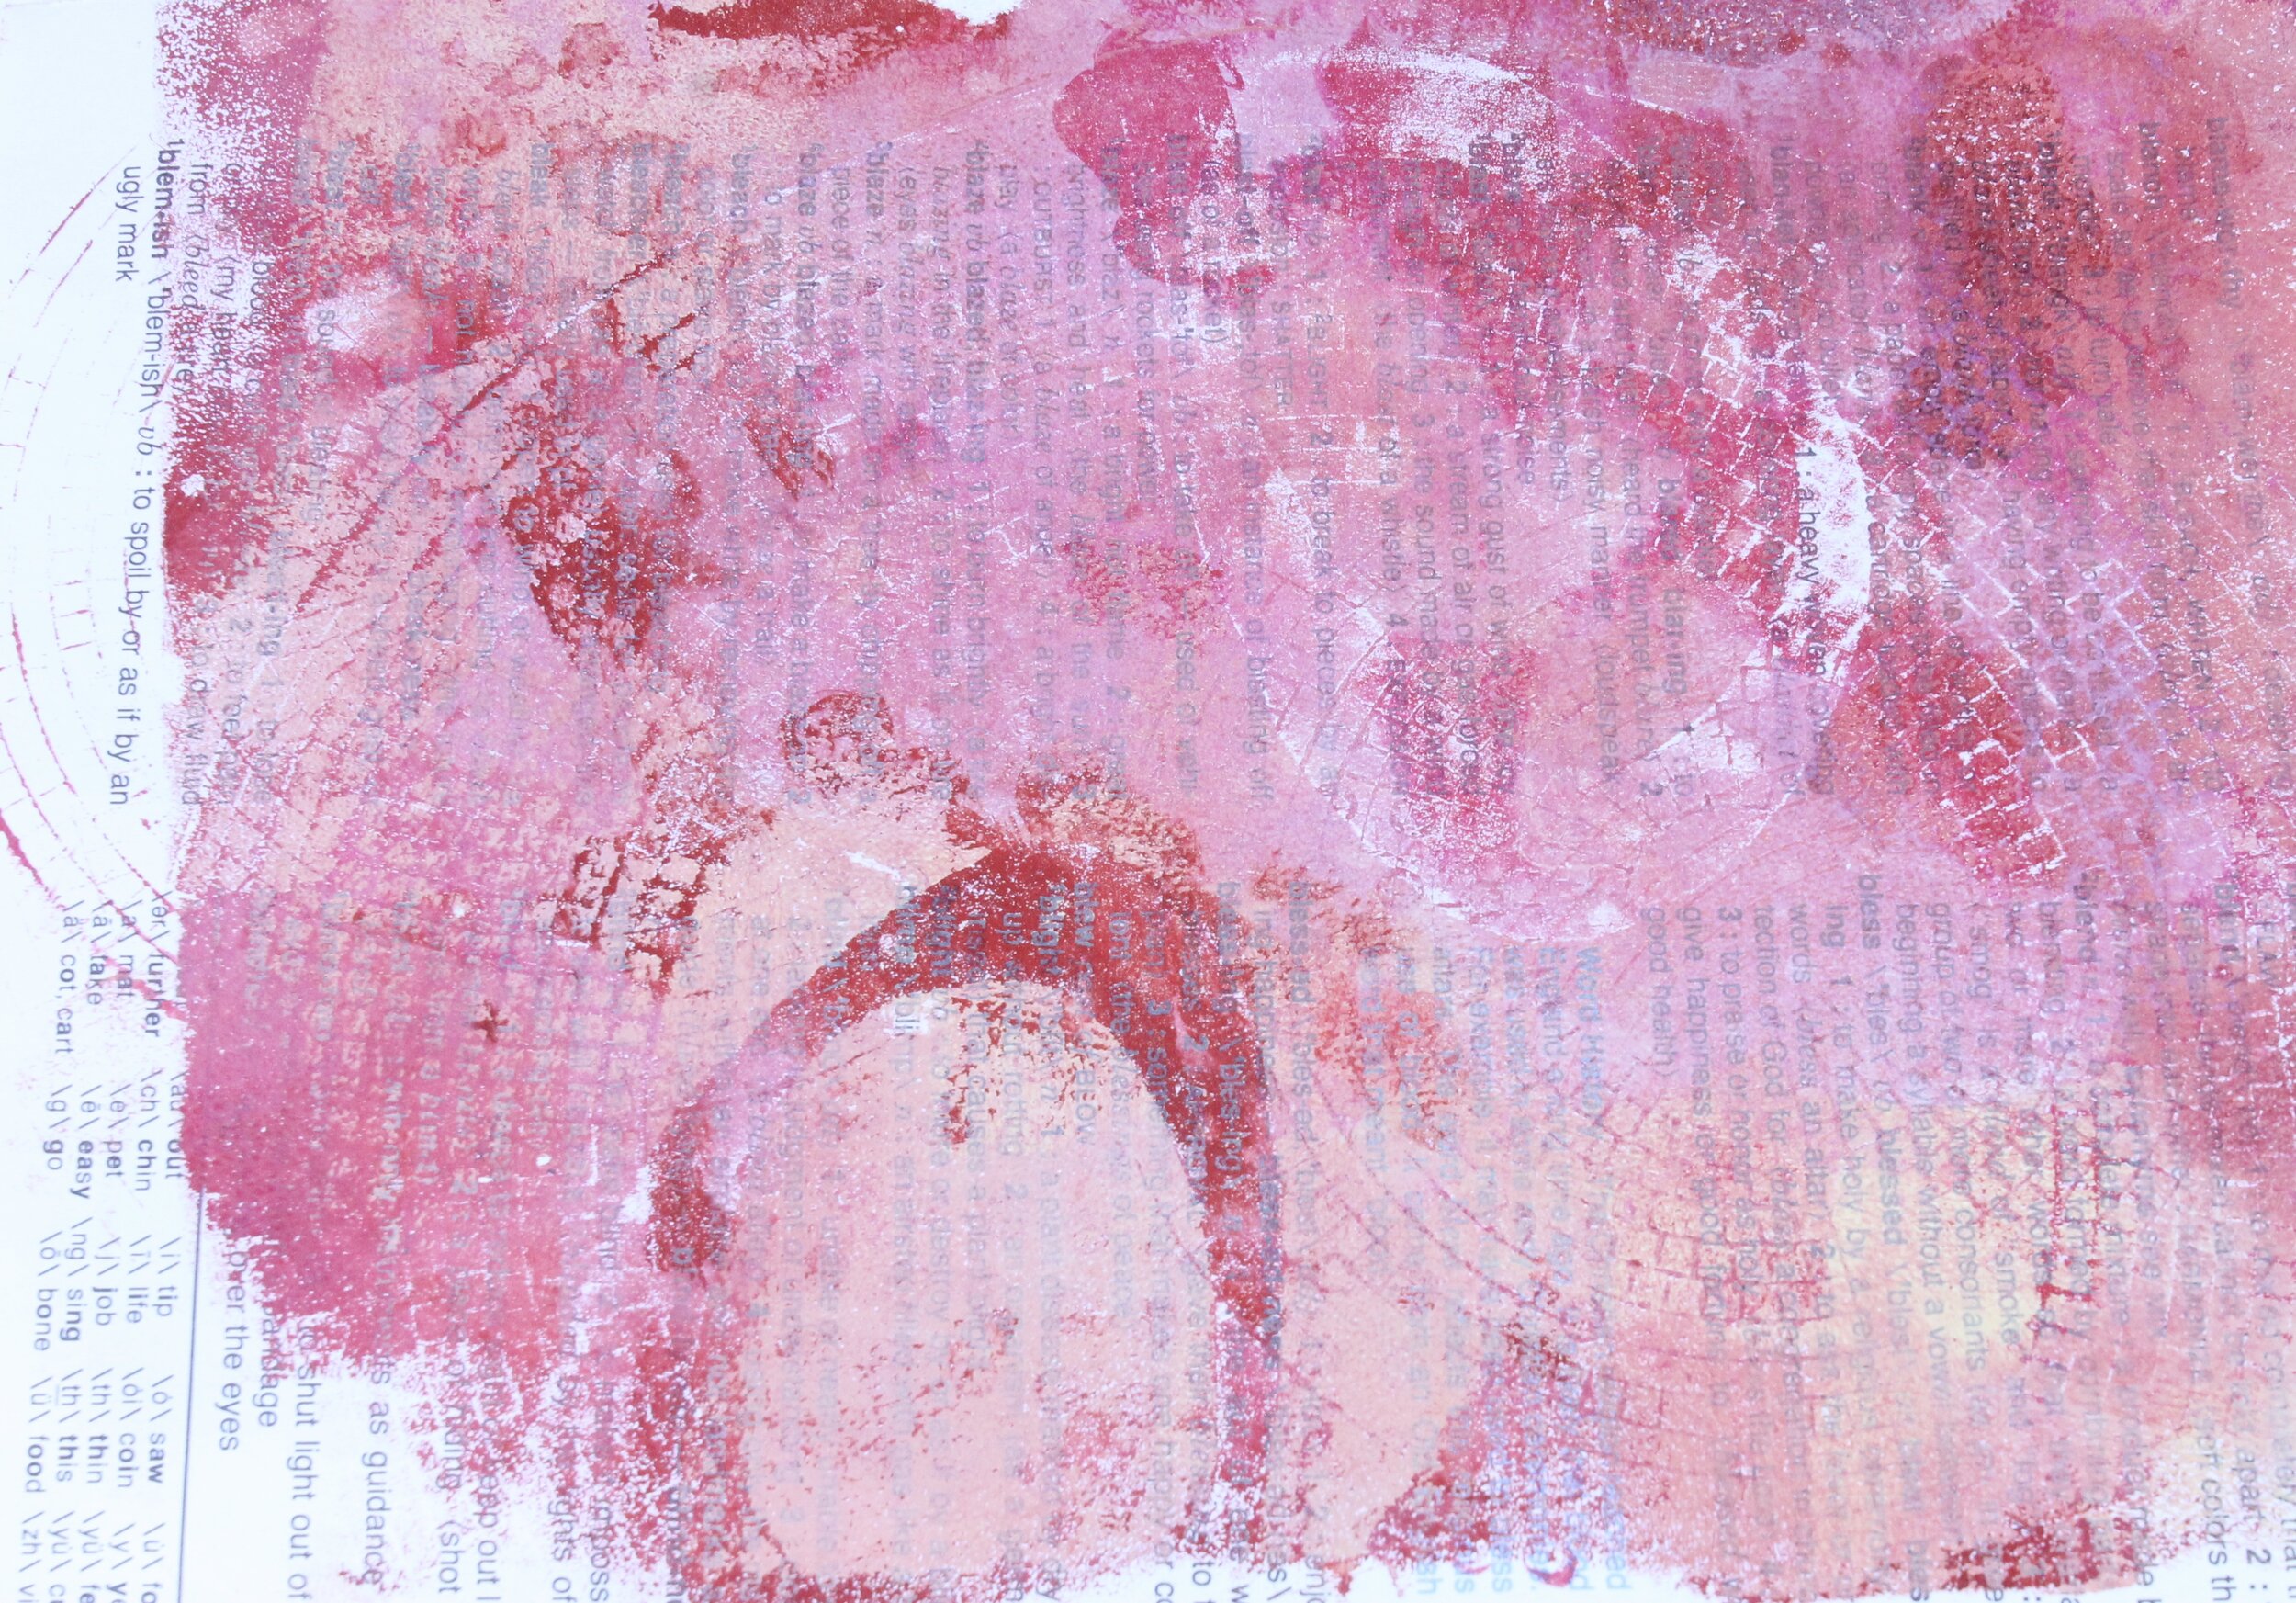
prettyinpinkprint01_02012021

I have been greatly enjoying exploring printmaking on my gelli plate lately! As a book and paper artist, I have loads of reclaimed books that I have found over the years or have been gifted to me by family and friends. Needless to say, I am never at a lack of material to pull prints!

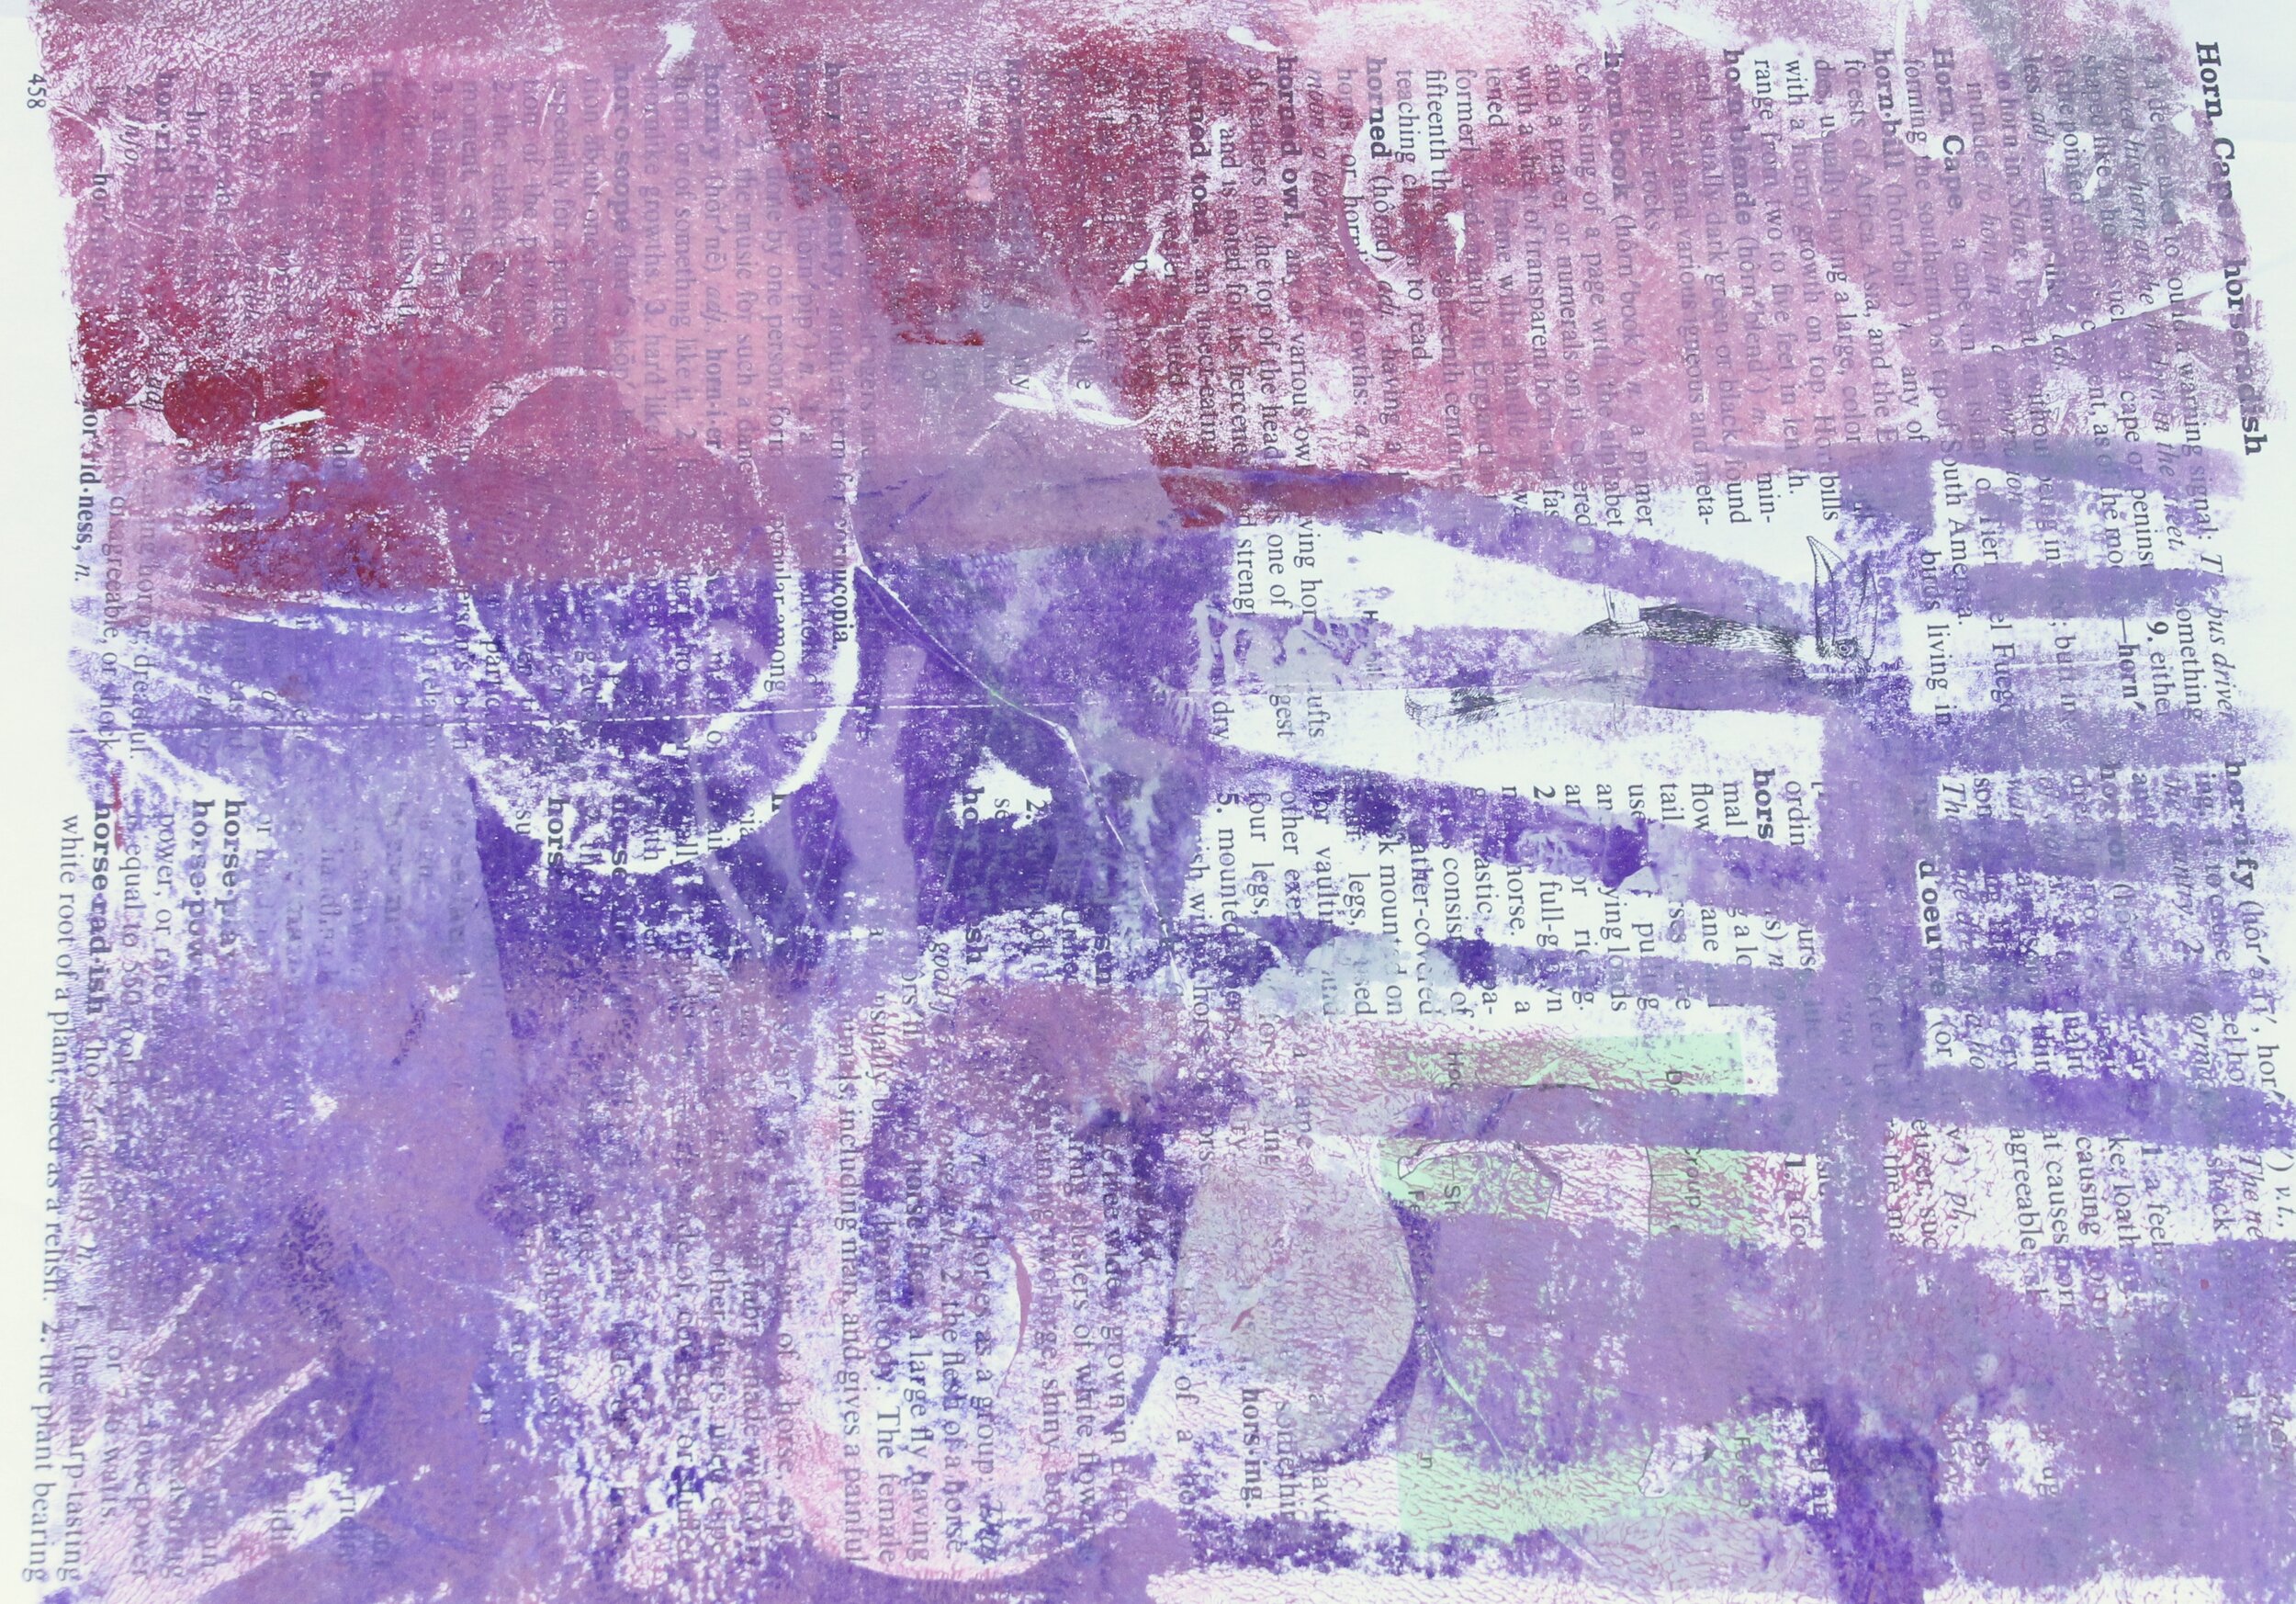
pinkpurpleprint01_02012021

And despite spending A LOT more time at home, I have not been feeling inspired to create. As a creative person, not actively creating is NOT an option for me. So I have been wiping the dust off my creative muscle and hitting the studio with a sense of play—making art for the sake of creating rather than obsessing over the end product.

graypurpleprint01_2012021

With my printmaking process, my absolutely favorite mark-making tools are simple objects found around the home (such as thread spools, skewers, bubble wrap, etc.) or items that I make using fun foam, toothpicks and corrugated cardboard. Add paper from vintage books and you have endless possibilities for one-of-a-kind collage papers for artist books, abstract panels and more!

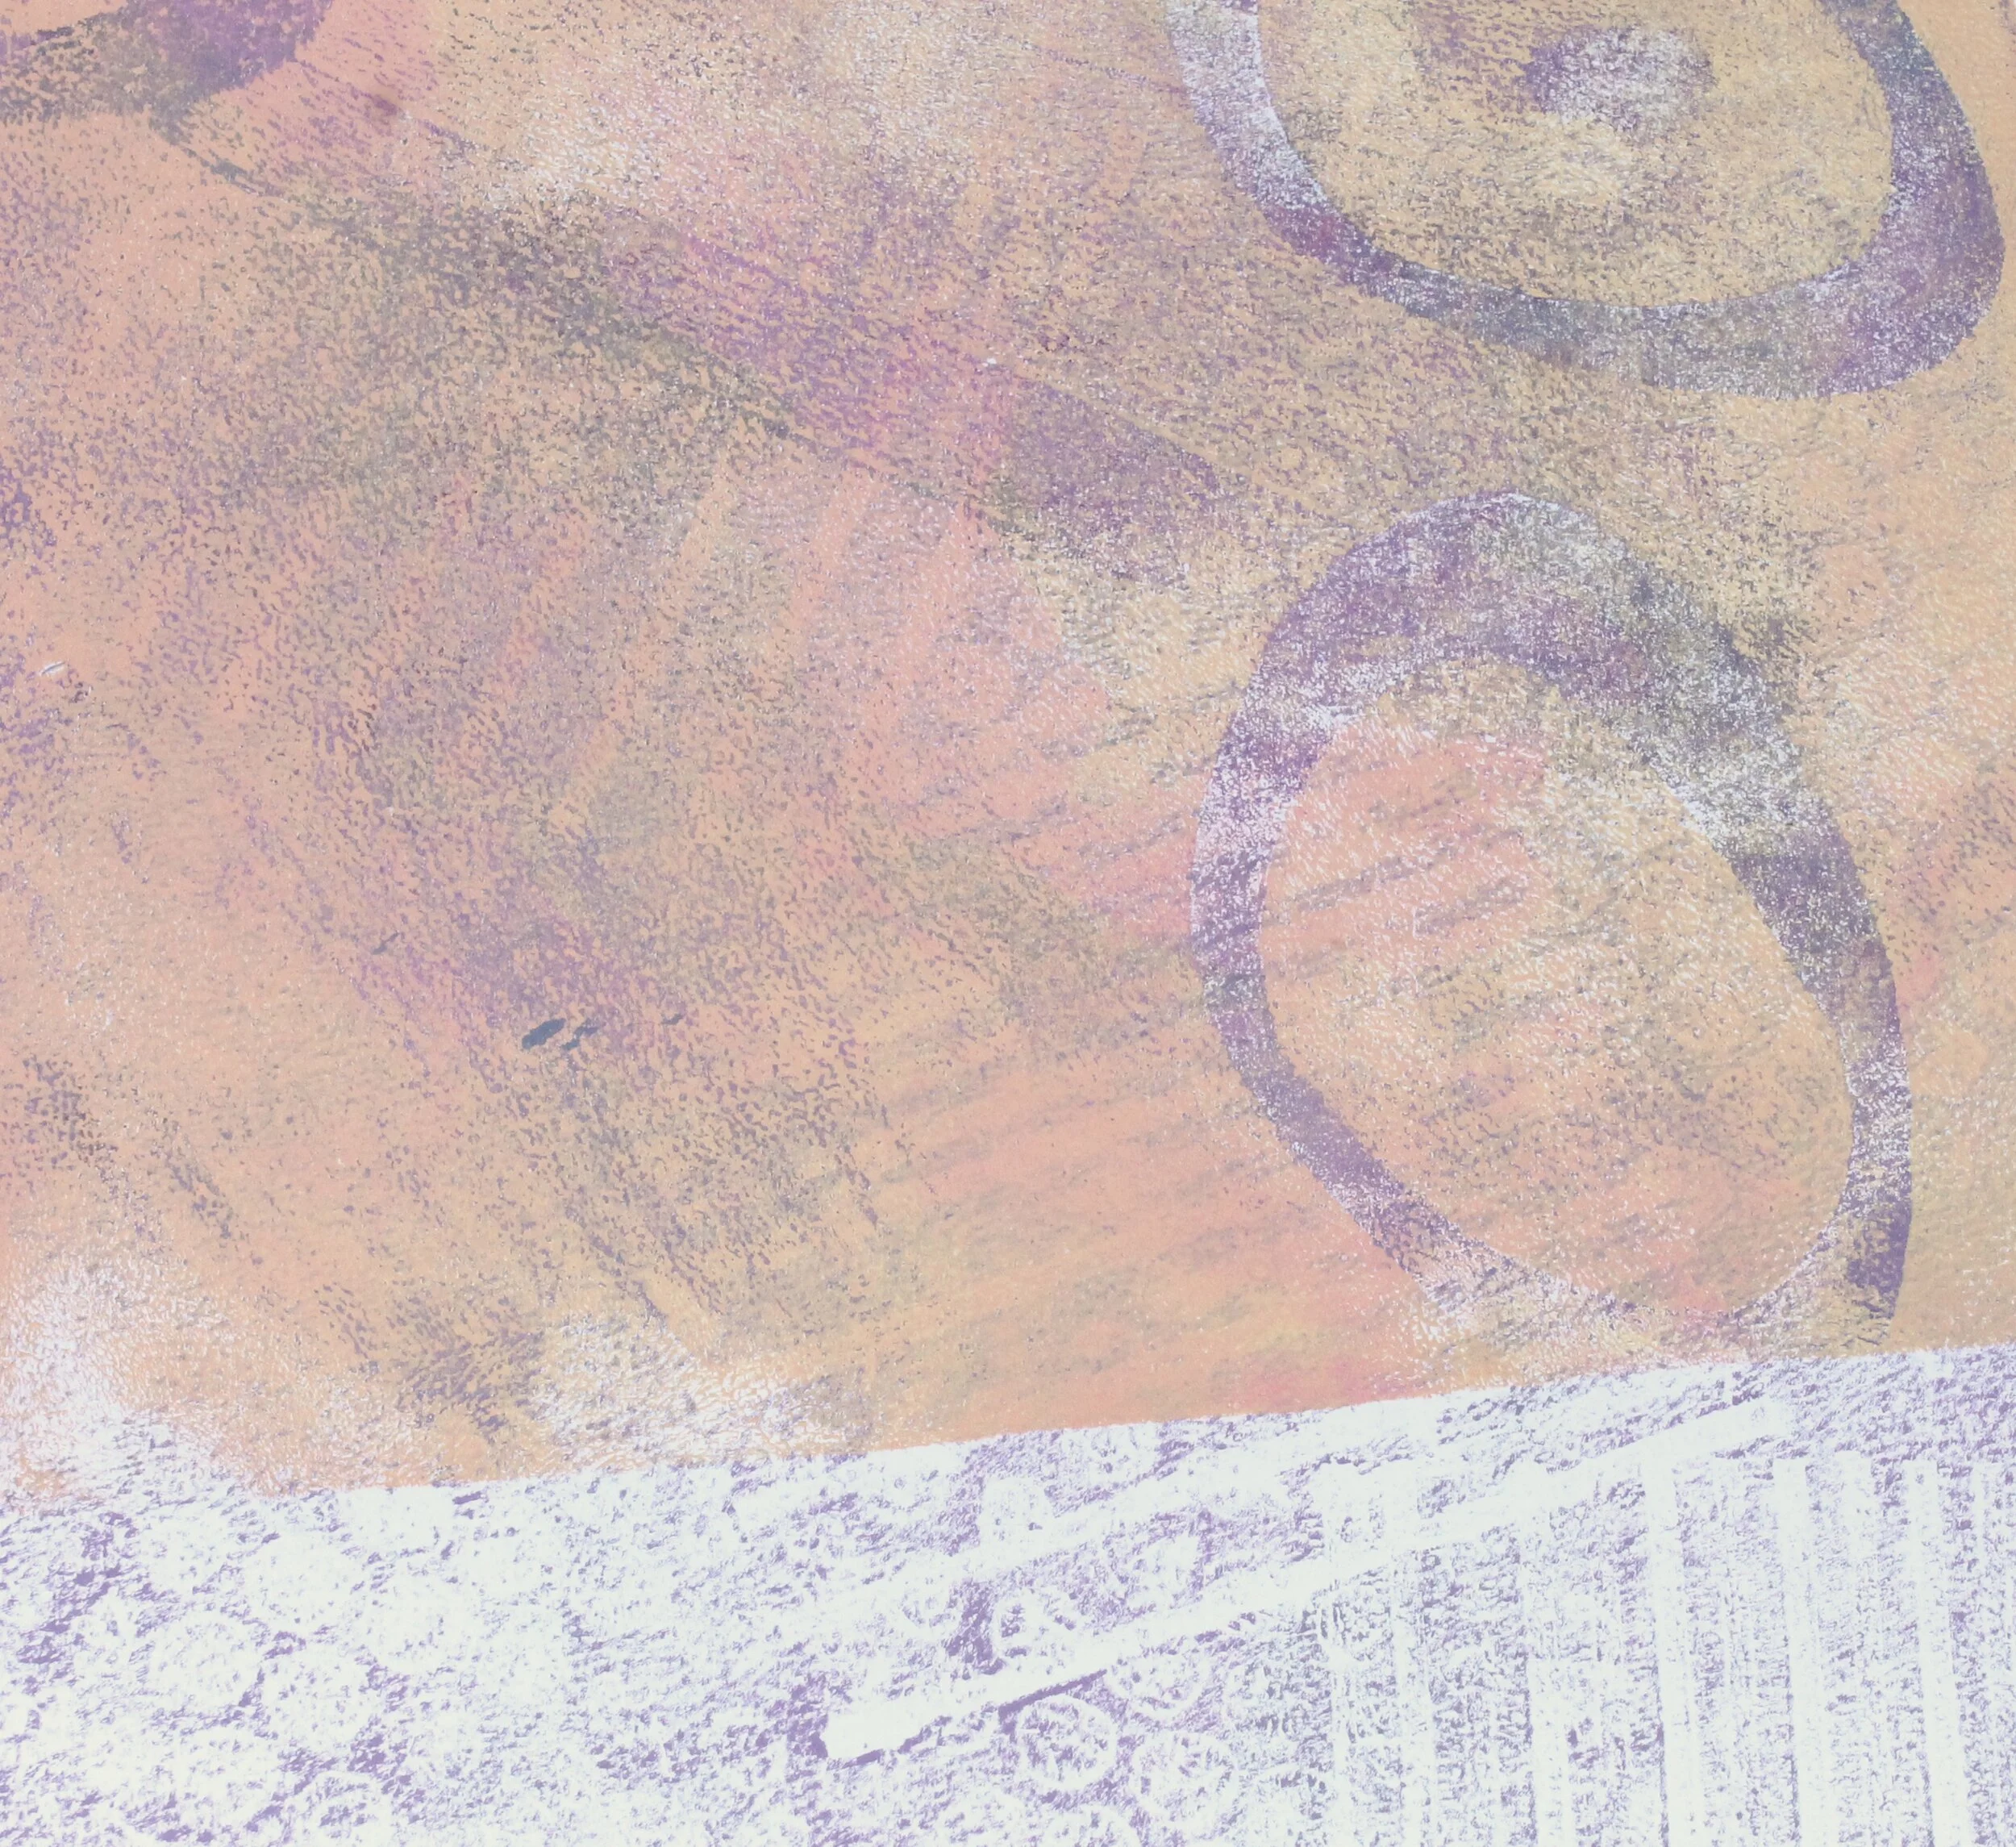
peachpurpleprint01_02012021

In the above prints, I used several types of processes to create the grungy effect. First…and this is the most important thing to remember, LAYERS. My best prints come from printing adding layer after layer of paint. The bonus of using acrylic paints when printing is that you can keep adding layer after layer of paint until you achieve the result you desire.

yellowredprint01_02012021

Are you interested in learning how to achieve these effects? Seeing the tools that I use? How to make them? Where to buy fun (and cheap!) mark-making tools?

Starting the week of February 8th-28th, I am going to share some of my favorite inside tips on making funky, grungy prints using reclaimed papers and handmade tools. Is there anything in particular that intrigues you about my creative process and want to know more about?

{ Little Red Corvette } : 3x 5 x 1" : New Work by Becca Imbur // November 2020

{ Little Red Corvette } : 3 x 5 x 1” : Spine View

{ Little Red Corvette } : 3 x 5 x 1” : Spine View

{{ Little Red Corvette } : 3 x 5 x 1” : Front View

{{ Little Red Corvette } : 3 x 5 x 1” : Front View

{ Little Red Corvette } : 3 x 5 x 1” : Back View

{ Little Red Corvette } : 3 x 5 x 1” : Back View

{ Little Red Corvette } : 3 x 5 x 1” : Binding View

{ Little Red Corvette } : 3 x 5 x 1” : Binding View

{ Mixed Media Printmaking : Gelli Plate Prints } : May 2019 //

While teaching my ‘Rust Printing + Mark Making’ workshop back in April, one of my student introduced me to Gelli Plate printing. I had been looking into the process for awhile and after checking out her Instagram feed, I was HOOKED. I came home that weekend and ordered myself several plates and did what most artists do when learning a new technique—I obsessively scoured Pinterest for visual inspiration and watched YouTube videos until my excitement led me to my studio.

I tried multiple techniques and was not happy with the results. I tried cheaper, more fluid acrylics. I tried heavier bodied acrylics. I tried spray inks. I made a MESS. I threw many prints into the recycling bin.

Then I got SICK. Every few years, seasonal allergies will kick my butt. This was one of those years. My throat was raw, I had a persistent and painful cough. I eventually lost my voice (which is fun when you teach art to young children). And the best part—I got several tick bites that became swollen and a rash spread over my entire torso.

During the recovery process, I spent a weekend resting and took this time to play around with my plate. I made dozens of prints. Below are some of my faves…

gelli_exp_01
gelli_exp_02
gelli_exp_03
gelli_exp_04
gelli_exp_05
gelli_exp_06
gelli_exp_07
gelli_exp_08

It took a few days of rest but I did recover from both the allergies and the bites. I am looking forward to using these prints in a new body of collage work and covers for new mini booklets for my upcoming show in December.

gelli_plate_mini_books_06192019


{ 40 Day Markmaking Challenge : Part One }

Back in May, I become enthralled with Helen Terry’s blog post about her experiment with the 40 Day Mark-making Challenge. She made her own handmade book with loads of different types of paper with the commitment of making marks for 40 consecutive days.

I loved the concept and decided to embark on my own 40 Day Mark-making challenge. I enjoyed it so much that working in one book a day was not enough. In this week’s blog post, I will share various pages from my own handmade book. Papers include vellum, found/salvaged, handmade, watercolor, drawing, Kraft papers and more!

I used watercolors, India inks, spray inks and of course, my beloved cola pens. There were many failures…the challenge of so many different papers consumed me. Below are the experiments that I found acceptable.

Be warned…taking on the 40 Day Mark-making Challenge is addictive!

Mark-making challenge #1
Mark-making challenge #2
Mark-making challenge #3
Mark-making challenge #4
Mark-making challenge #5
Mark-making challenge #6
Mark-making challenge #7
Mark-making challenge #8